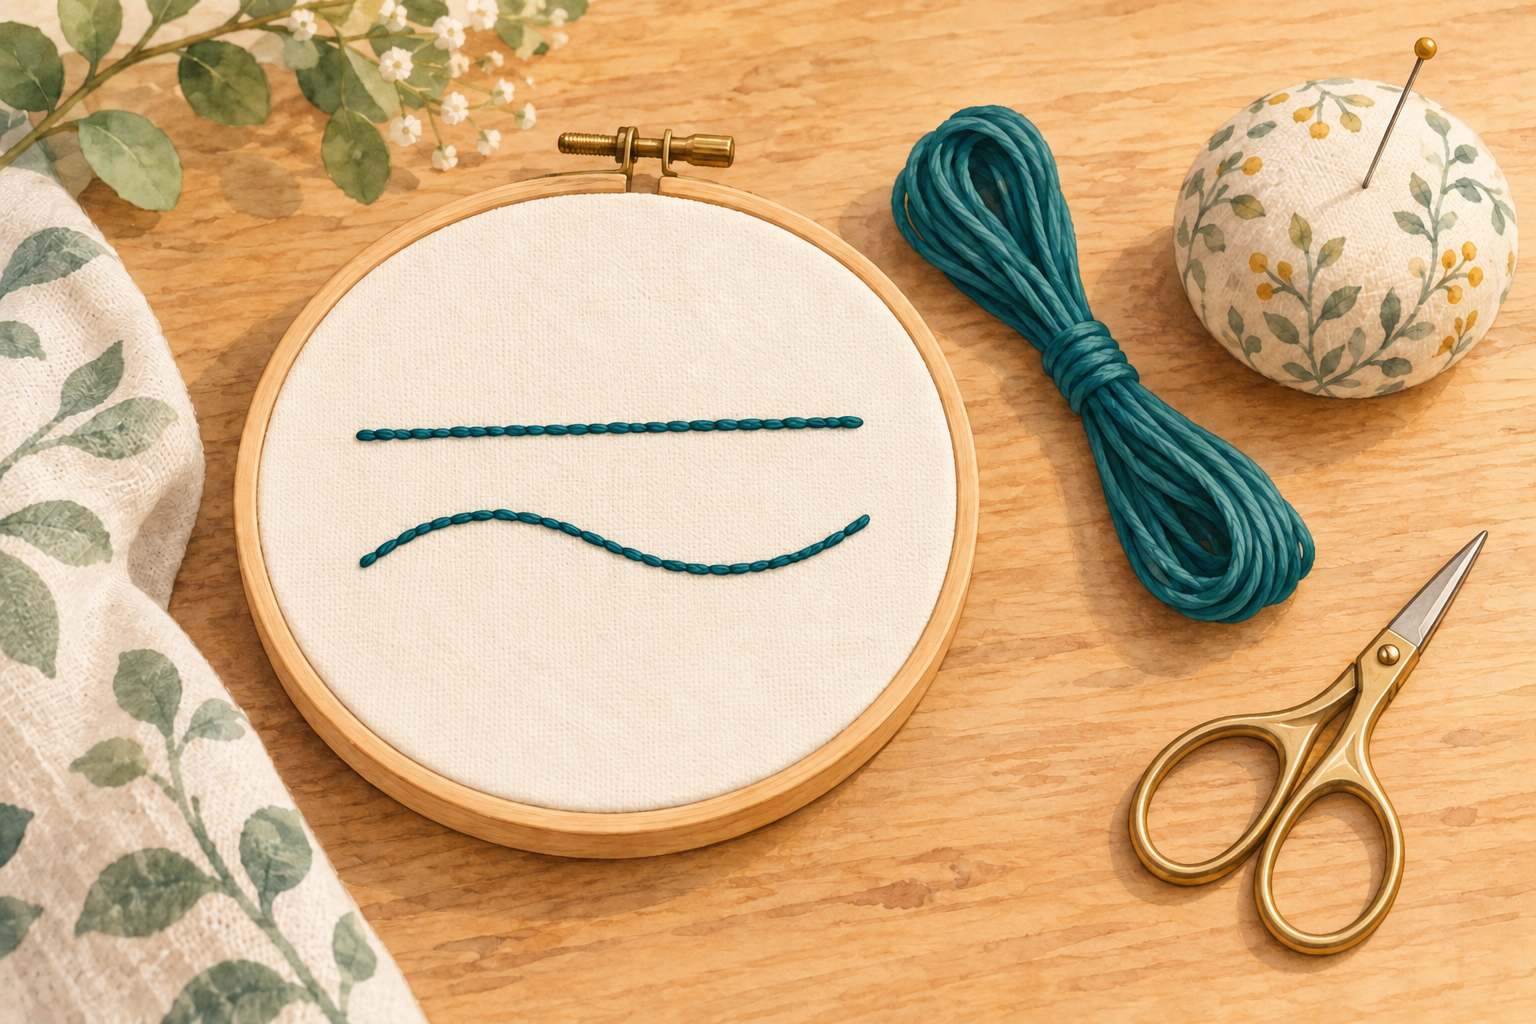
To backstitch by hand, bring your needle up one stitch-length ahead, then go back down into the endpoint of the previous stitch. Repeating that small backward motion makes a continuous outline instead of a row of separated dashes.
This beginner practice uses a short line on a cotton scrap, not a garment you are worried about spoiling. Allow about 30 minutes of active time for setup, stitching and finishing; washing and drying fabric, if needed, take extra time. The measurements and three-strand choice below are suggestions for this exercise, not rules for every embroidery project.
Hero image: AI-generated illustration of a practice setup, not a photograph of a tested project.
Before you start
Use supplies you already have where suitable. Choose smooth, non-stretch woven cotton and a sharp embroidery needle with an eye that comfortably takes your thread. Work in good light. Keep supporting fingers out of the needle’s path, never hold needles in your mouth, and put the needle in a case or designated holder whenever you pause. Keep scissors closed when not in use and loose sharps away from children and pets.
Quick troubleshooting
- Gaps between stitches: return into the actual endpoint of the previous stitch, not a new hole beside it.
- Puckered fabric: stop pulling so hard. Thread should rest against the fabric, not gather it. Check that the hoop is holding the cloth evenly.
- Tangled thread: let the needle hang briefly to release twists, and work with a shorter length. Do not force a knot through the fabric.
- Uneven line: lightly mark small intervals and slow down. Shorten stitches on tighter curves once you move beyond the straight practice line.
Questions beginners ask
Is backstitch the same as running stitch?
No. Running stitch leaves spaces between visible stitches. Backstitch returns to the previous endpoint to close those spaces.
Do I need three strands?
No. Three strands make a visible practice line here. Fewer strands give a finer line; choose the number to suit the fabric, needle and design.
Can I start on a T-shirt?
A woven cotton scrap is easier for this first practice. Stretchy fabric needs additional support and can pucker, so save it for a later project.
Why not just cut off the thread ends?
Both ends need securing under stitches on the reverse. Cutting an unsecured tail can let the line loosen.
Why this topic now
Checked October 24, 2026: Pinterest Trends for the exact query “embroidery art” in the United States showed 20% weekly, 10% monthly and 10% yearly growth. The observed July 24–October 21 window showed a recent upswing after a September dip; an earlier June peak had already ended. These are Pinterest search-interest changes, not product sales or proof that backstitch itself is trending. Forecast values were excluded. This practical lesson is an editorial response to the broader embroidery interest.
Technique and safety sources
This is a research-based tutorial, not a claim of hands-on testing. The stitch method follows the Royal School of Needlework back-stitch guide. Setup and finishing are supported by DMC’s guides to preparing fabric, using a hoop, separating stranded thread and securing thread. Sharp-tool precautions draw on the NCERT Hand Embroiderer textbook, printed pages 99–100.
What you need
- Plain woven cotton scrap, approximately 8 × 8 inches
- 6-inch embroidery hoop
- Cotton embroidery floss, contrasting color
- Sharp embroidery needle with a suitable eye, such as size 5
- Small scissors
- Safe needle holder or needle case
- Ruler and removable fabric marker, tested on a scrap
Steps
-
Prepare the cloth and mark a short line
Choose a smooth, non-stretch cotton scrap about 8 inches square. Wash and press it according to its care instructions if needed, then let it dry. Test a removable fabric marker on a spare corner and follow its directions. Draw a light 2½-inch (6 cm) line, with optional small marks about ⅛ inch (3 mm) apart. These are practice guides, not a required stitch size.
-
Hold the fabric evenly in the hoop
Loosen the screw and separate the rings. Lay the cloth over the inner ring, centering the marked line. Press the outer ring over it, then gently draw the fabric edges out as you tighten the screw. Aim for a smooth, taut surface without distorting the weave. You can readjust the hoop if the cloth loosens while you work.
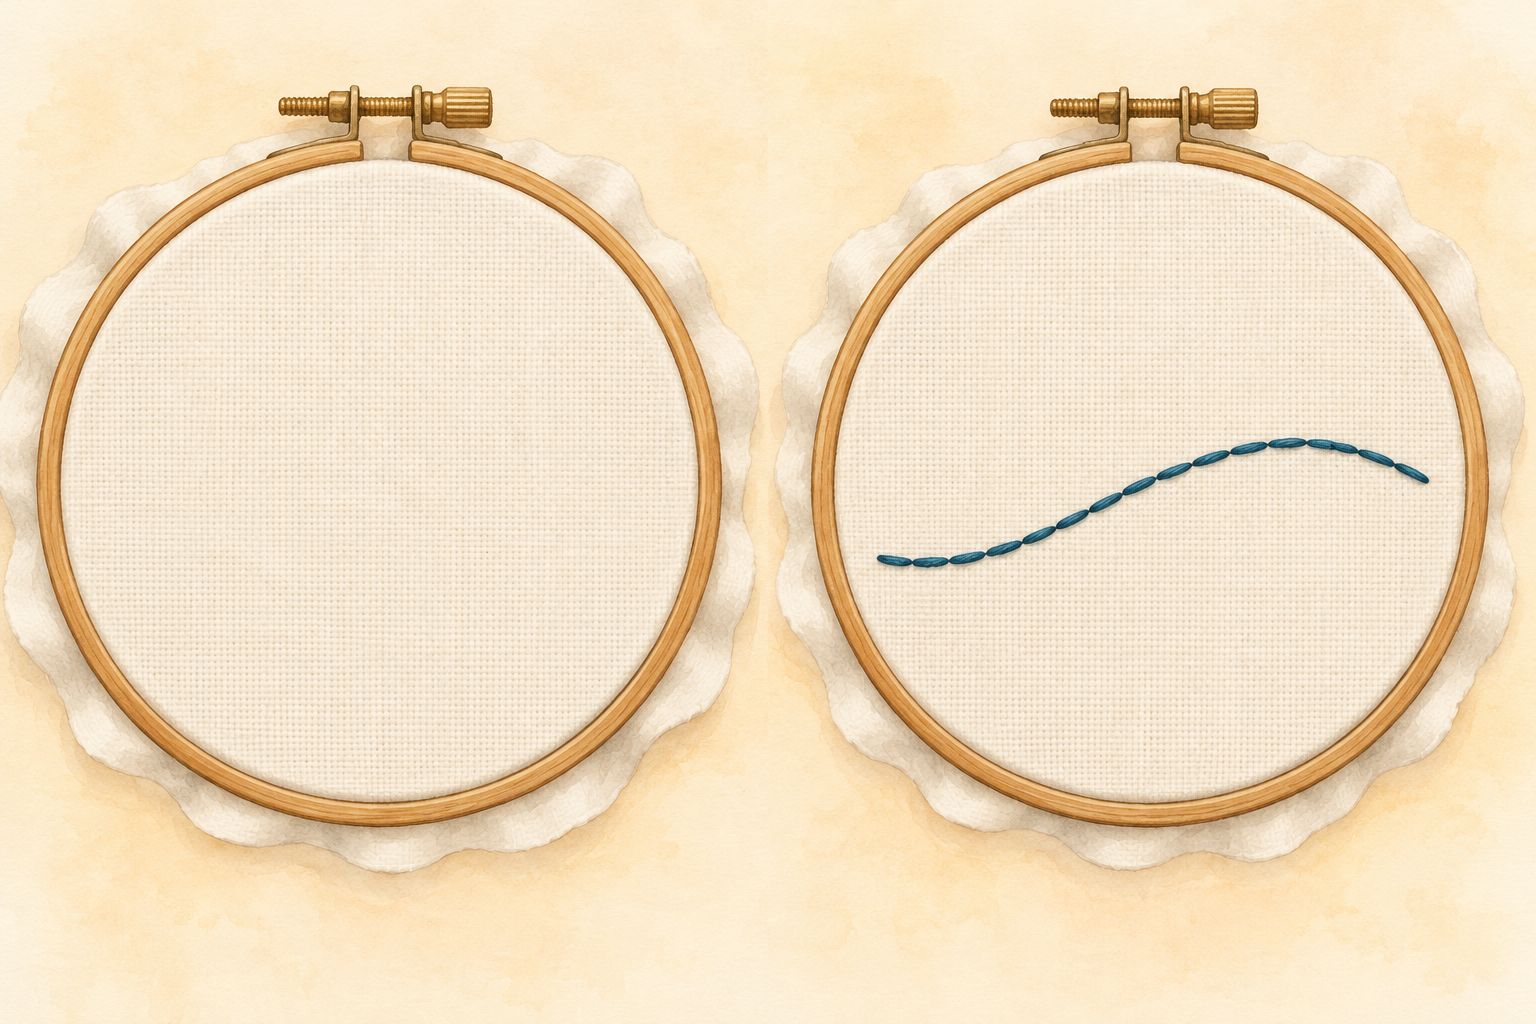
AI-generated illustration: keep the fabric smooth; aim for adjoining stitches when you practice the line. This is not a needle-path diagram. -
Separate and thread three strands
Cut about 18 inches (45 cm) of six-strand cotton floss. Pull out one strand at a time, then bring three strands together for this exercise. Thread them through the embroidery needle. Leave a short loose tail through the eye; do not double the entire length and accidentally stitch with six strands.
-
Leave a temporary starting tail
Tie a temporary knot in the long end. Take the needle from the front to the back of the cloth about 4 inches (10 cm) away from the start of your line, outside the stitching path. The knot stays on the front, with a tail across the back. Keep that tail free rather than stitching through it. You will remove the knot and secure the tail in the final step.
-
Make the first two backstitches
Imagine points A, B and C along the line from left to right, each about ⅛ inch (3 mm) apart. A is the start. Bring the needle up from the back at B, then down at A. Pull gently until the thread lies flat. Next, bring the needle up at C and go down at B, using the same hole where the first stitch began. You now have two joined stitches.
-
Continue the line without gaps
Bring the needle up one stitch-length beyond C, then go back down at C. Repeat: come up ahead, go down at the previous endpoint. Keep the stitches similar in length and ease the thread into place rather than yanking it. Check the front and back every few stitches so tangles do not build up. The front should be a connected line with flat fabric, not separated dashes or puckers.
-
Secure both ends and remove the hoop
Finish with the needle on the back. Slide it beneath several existing reverse-side stitches without coming through the front, then trim the excess. Carefully cut off the temporary starting knot while keeping its long tail behind the cloth. Thread that tail into the needle, weave it beneath several reverse-side stitches too, and trim. Do not cut away an unsecured tail. Remove the hoop, deal with marker lines only as the marker maker directs, and store the needle safely. Once the straight line feels comfortable, try a second line with a gentle curve.