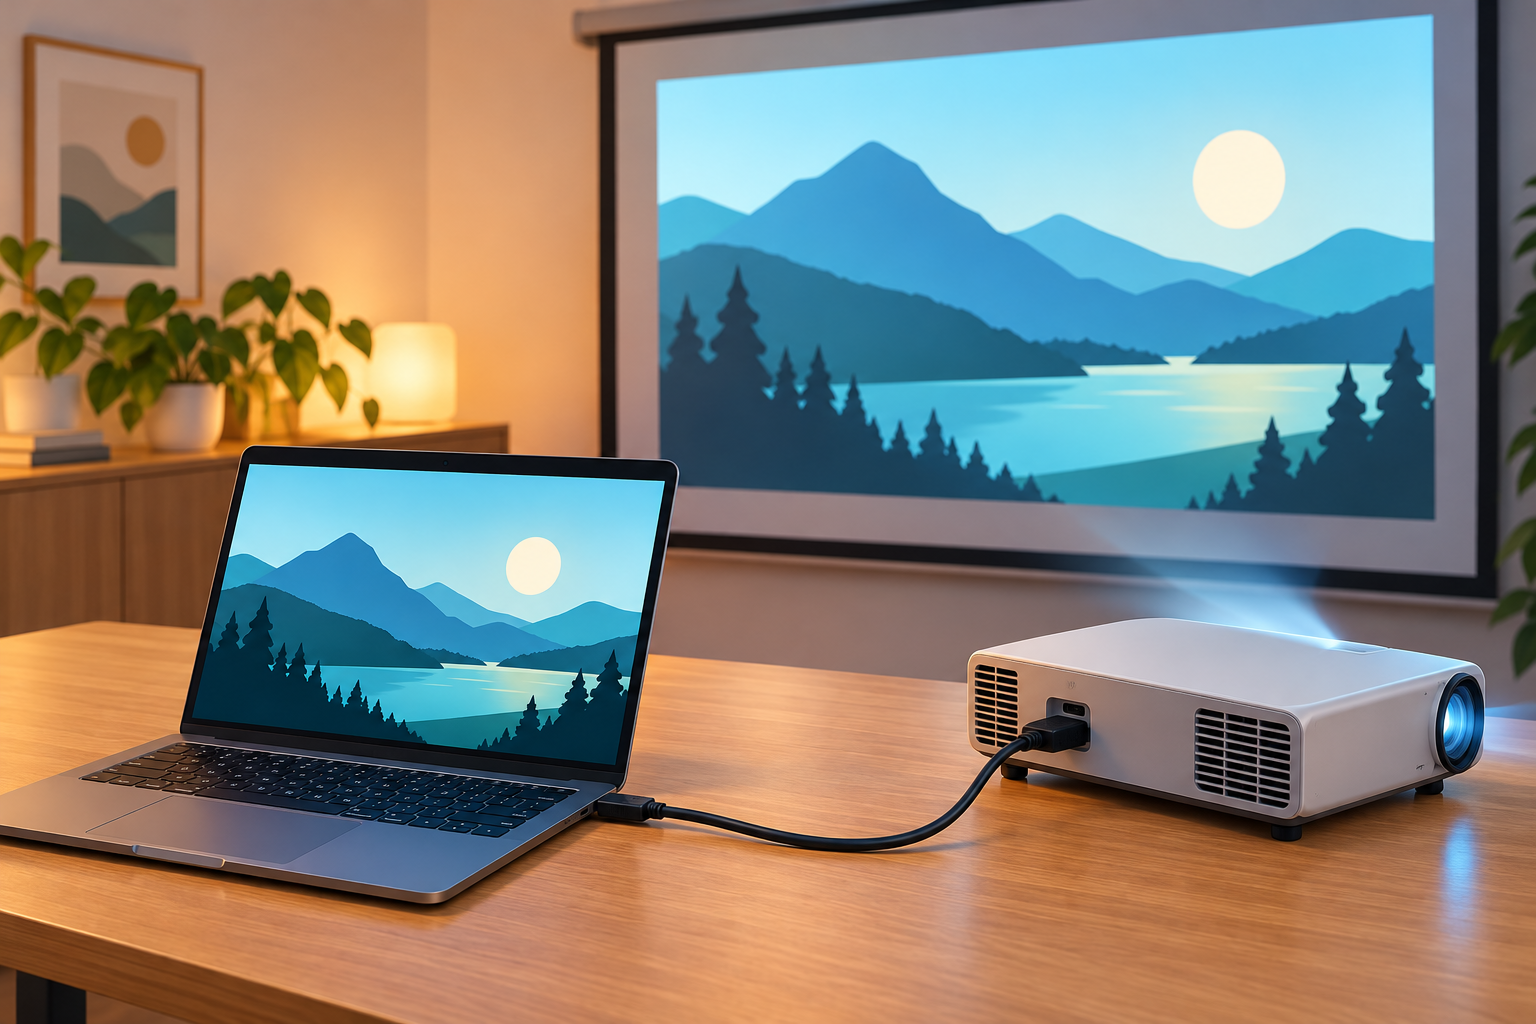
To connect a projector to a laptop, connect the laptop’s video output to the projector’s HDMI input, select that input on the projector, then choose Duplicate in Windows or screen mirroring in macOS. If your laptop has no HDMI port, use an adapter compatible with its video-output port.
This beginner guide covers a wired connection, Windows and Mac display modes, and common “No signal” fixes. Allow about 15 minutes. Port locations and menus vary by model, so keep both devices’ manuals handy.
Checked 17 October 2026. Images are AI-generated explanatory illustrations, not screenshots or product recommendations.
What you need
- Laptop and projector, their power supplies, and the projector remote or input controls
- HDMI cable; a video-capable adapter if the laptop does not have HDMI
Steps
-
Check the ports and choose the right cable
Look for an HDMI output on the laptop and an HDMI input on the projector. If both have them, a standard HDMI cable is the simplest route. Check the labels and manuals rather than relying only on the socket’s shape.
If the laptop only has USB-C, check its specifications for external-display/video-output support before choosing a USB-C-to-HDMI adapter. A USB-C socket is not a guarantee that every adapter will work. Older Mini DisplayPort, DisplayPort or VGA equipment needs a compatible connection path. This guide continues with HDMI.
Set the projector on a stable surface with its vents clear. Keep cables out of walkways and never look into the lens while it is on.
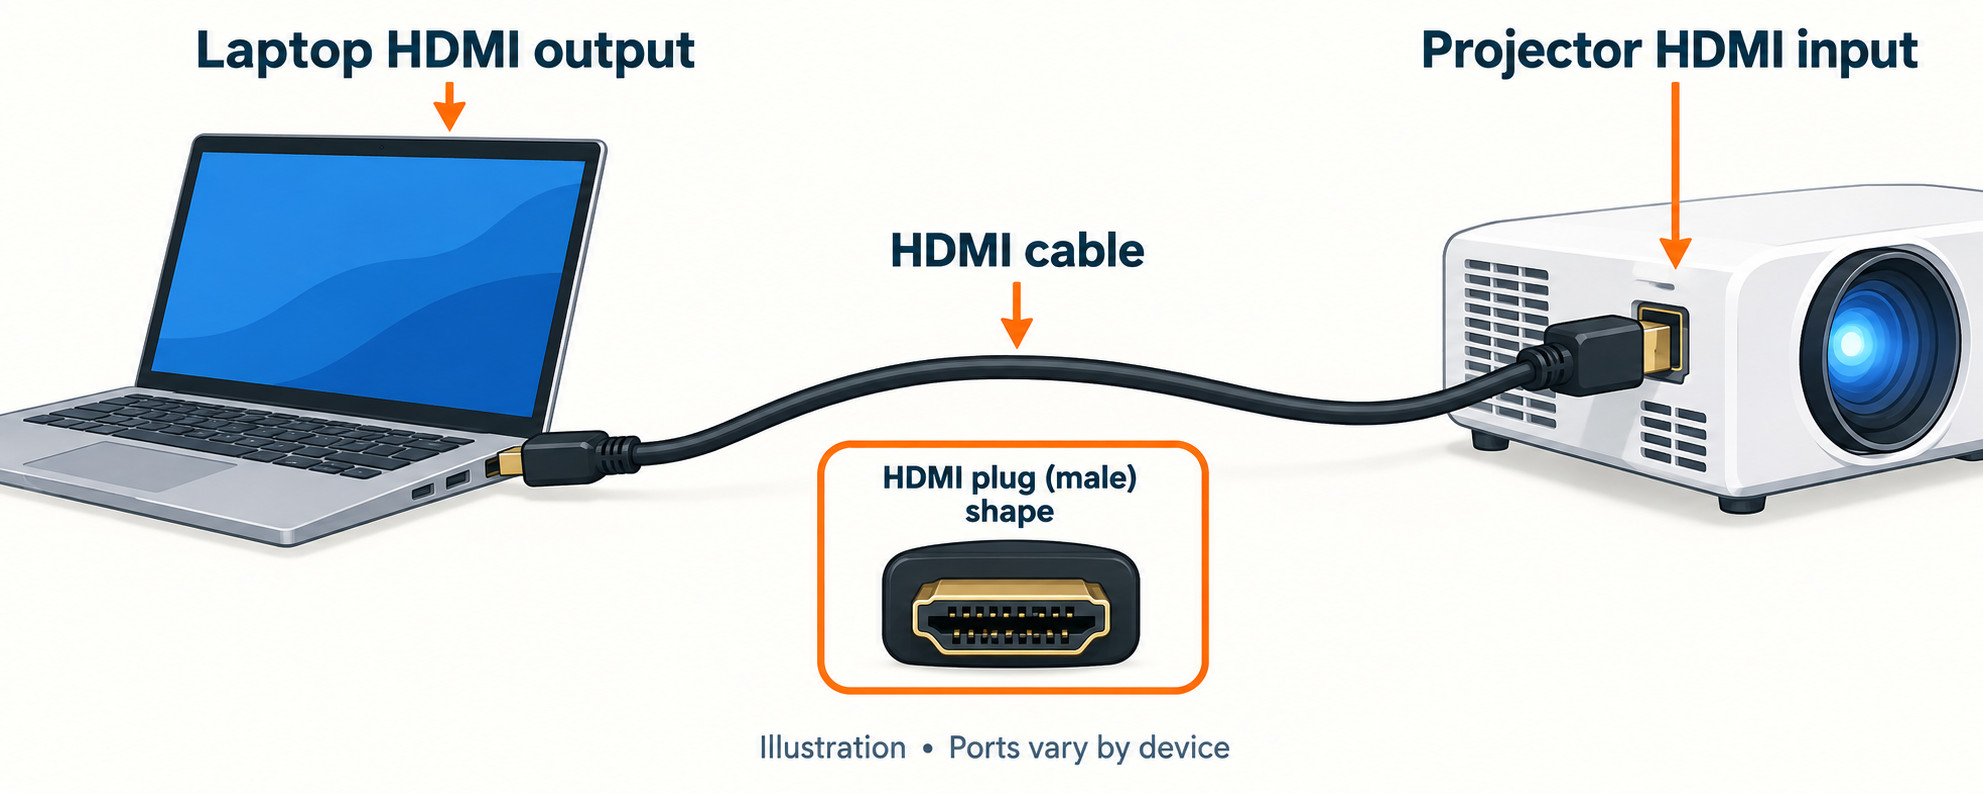
AI-generated connection diagram. Check the actual port labels on your devices.
-
Connect HDMI and select the projector input
Follow the power and connection order in your projector’s manual. Connect one end of the HDMI cable to the laptop’s HDMI output (or compatible adapter) and the other to the projector’s HDMI input. Do not force the connectors.
Power on the projector and wake the laptop. Use the projector’s Input, Source or Source Search control to select the HDMI socket you used, such as HDMI 1. The exact button name depends on the model. Give the devices a moment to detect each other.
If the projector already shows your desktop, continue to choose whether you want matching screens or extra workspace.
-
Choose mirroring or an extended desktop
Windows 11: Press the Windows logo key + P. Choose Duplicate to show the same content on the laptop and projector. Choose Extend for a second workspace that you can move windows onto. “PC screen only” does not send the desktop to the projector; “Second screen only” uses just the external display.
Mac: Open Apple menu → System Settings → Displays. Select the connected display and choose whether to mirror your built-in display or use an extended desktop. Available controls vary with macOS and the connected hardware.
For a simple demonstration, mirroring is usually easiest. For slides with private notes, use an extended desktop and configure your presentation app’s presenter view. Check the projected image before opening private information.
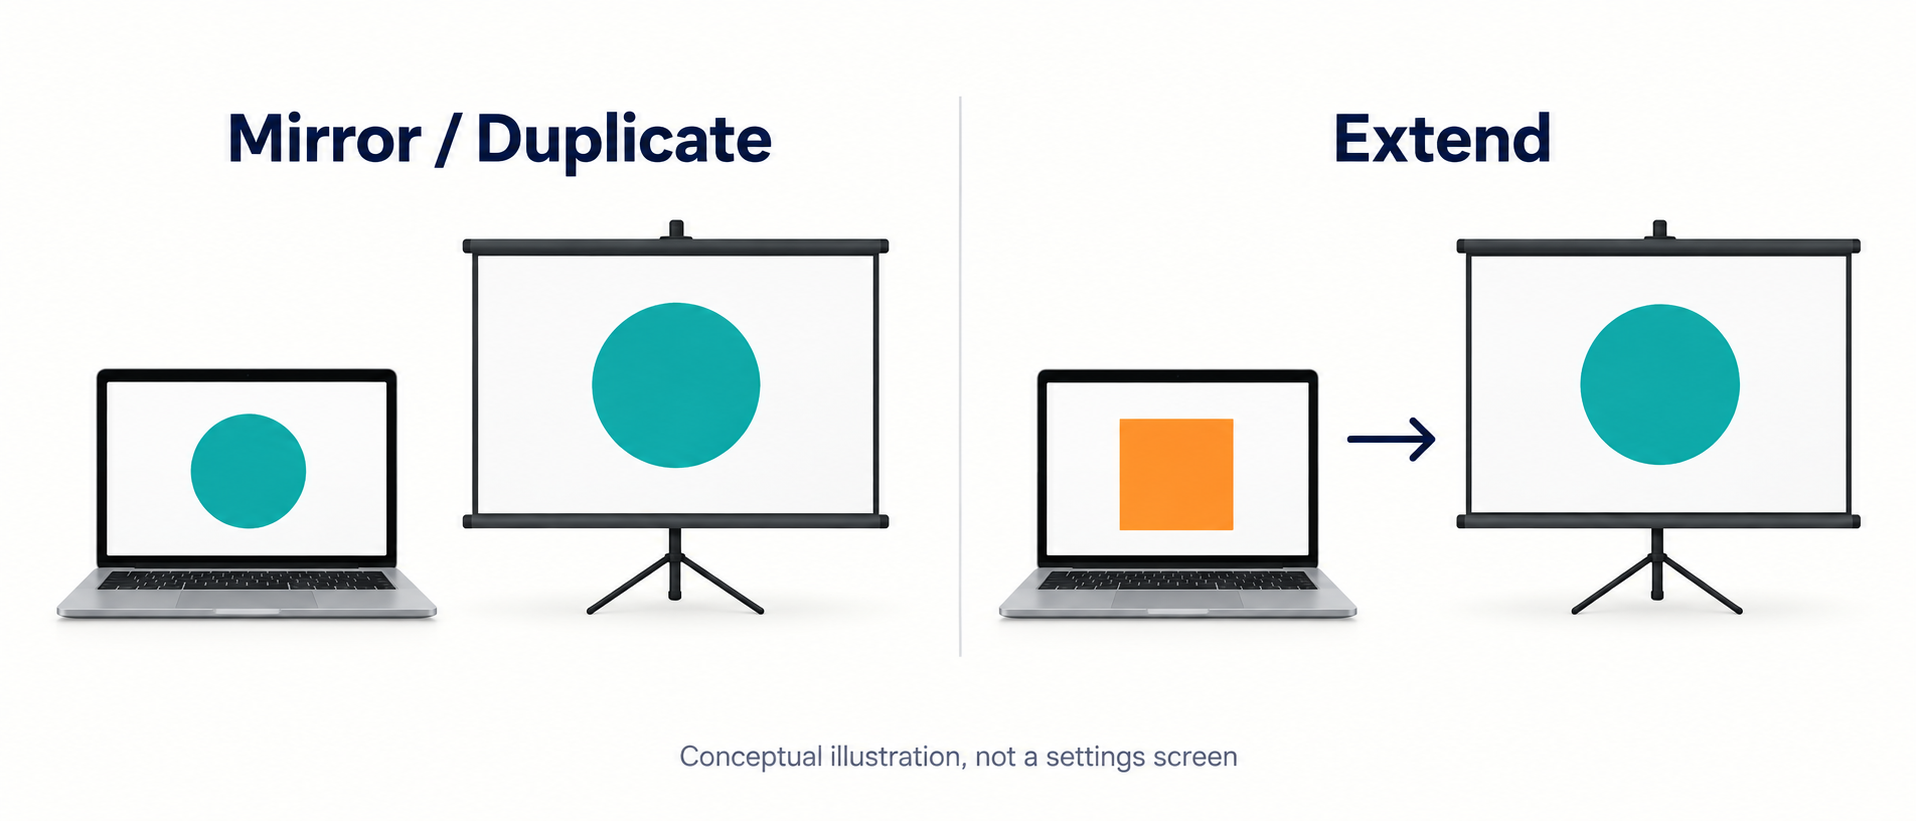
AI-generated concept diagram: mirroring repeats the screen; extending adds workspace.
-
Test the picture and fix “No signal”
Open a non-private test slide or document. If you chose Extend, move that window to the projector display. Before presenting, check that the audience sees the intended content.
If the projector says “No signal,” work through these checks in order:
- Confirm the projector is on, the laptop is awake, and the selected HDMI input matches the connected socket.
- Reseat both cable ends and the adapter. Try another known-working HDMI cable; remove unnecessary docks or adapters if you can connect directly.
- In Windows, check Windows + P. If the display is missing, go to Settings → System → Display → Multiple displays → Detect.
- On a Mac, open System Settings → Displays. Hold Option to reveal Detect Displays, then select it. Check that the adapter and laptop support the connected display.
- If needed, save your work and restart the devices following their manuals. Test the projector with another laptop to help isolate whether the fault is the projector, cable, adapter or computer.
If the image appears but is blurry, use the projector’s focus control and check the supported resolution in its manual. Avoid guessing a resolution that your projector does not support.
-
Finish your test and keep these answers handy
Your setup is ready when the projector shows the intended document and changing a page updates the projected image. When you finish, stop sharing private content and shut down the projector as its manual directs; allow any required cooling cycle before disconnecting power.
Why do I see only wallpaper?
You may be using an extended desktop. Move your document to that display, or switch to Duplicate/mirroring to repeat the laptop screen.
Can I connect without HDMI?
Yes, if both devices support another compatible video connection. Choose a cable or adapter for the actual ports and supported signal. Do not assume that a USB charging cable carries video.
Can I connect wirelessly?
Only if the devices support a compatible wireless method. Windows can cast to a Miracast-capable display using Windows + K. Wireless support differs by projector, so consult its manual; having Wi-Fi alone is not enough to establish compatibility.
Why is there a picture but no sound?
Check whether the projector has speakers or an audio output, then check the selected sound output and volume on the laptop and projector. Your model may require separate speakers; follow its audio instructions.
Official sources and further help
- Epson: connecting a computer with HDMI
- Epson: no-signal checks
- Microsoft: projection and display modes
- Microsoft: detecting and arranging displays
- Microsoft: external-display troubleshooting
- Apple: connect and troubleshoot external displays
Instructions checked 17 October 2026. Manufacturer examples illustrate the general process; your model’s manual takes precedence.