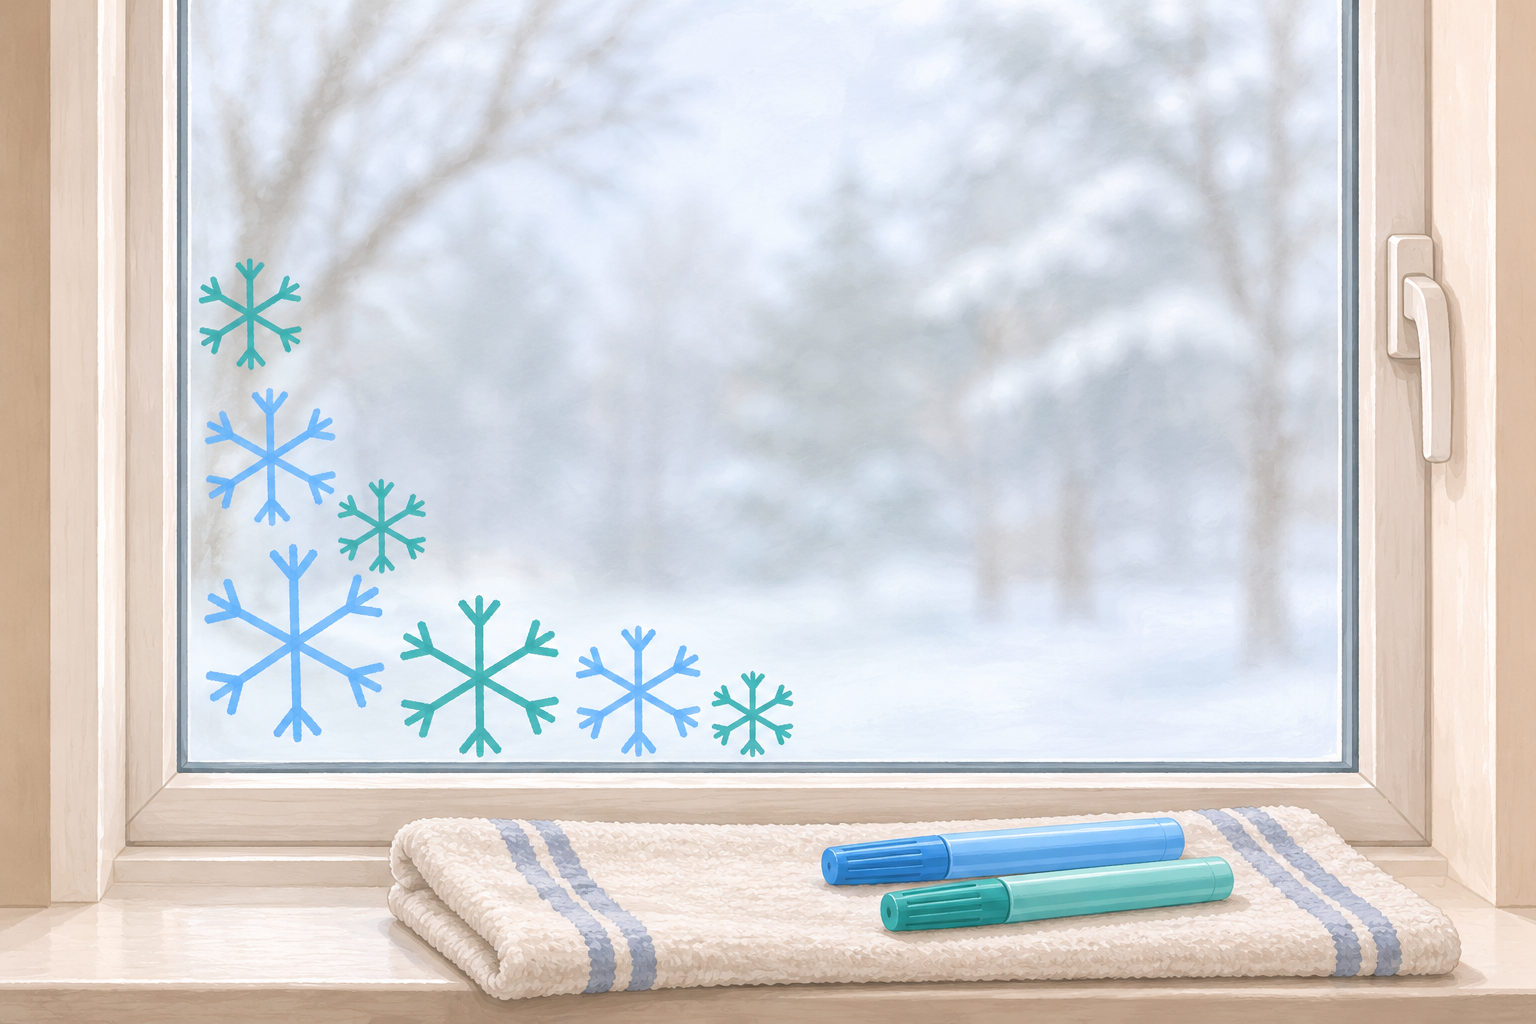
Hero image: AI-generated concept illustration, not a photograph of a tested project.
A few small snowflakes can give a window a seasonal look without covering the whole view. This beginner project uses washable markers specifically labeled for windows, a simple six-spoke drawing and a removal test before you decorate. Allow about 25 minutes, plus any drying time on your marker label.
The drawing pattern below is an original practice exercise. Product compatibility and cleanup guidance are based on Crayola’s published advice; follow your own marker and window manufacturer’s instructions if they differ.
Before you start
Choose a closed, intact indoor window that you can reach with both feet on the floor. Work only on a suitable plain glass surface. Skip film-covered, tinted, specially coated or unknown surfaces unless both manufacturers confirm compatibility. Keep ink off frames, seals, locks and sills. Do not decorate car windows or anything where clear visibility is safety-critical.
Use window markers, not permanent markers or ordinary art markers just because their label says washable. Crayola identifies its washable window markers as designed for window decorating. Its glass-cleaning advice also says to test first and does not guarantee every stain-removal result. Supervise children and keep loose caps away from small children and pets.
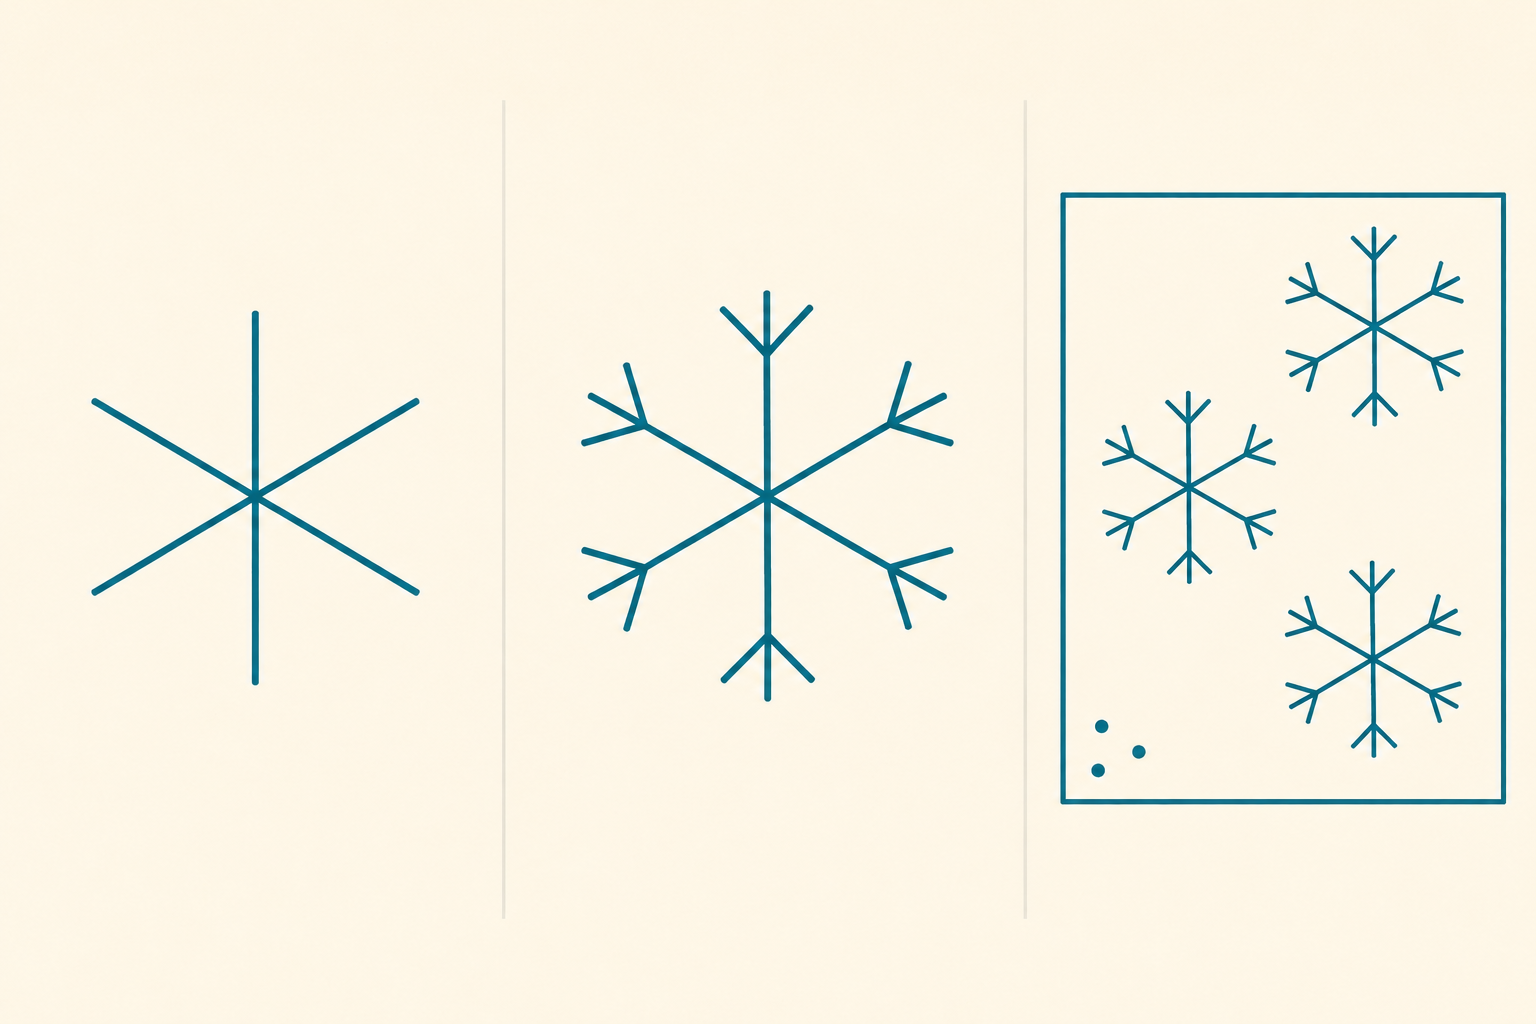
AI-generated drawing guide: begin with three crossing lines, add short branches, then repeat the shape. The diagram is illustrative, not a measured template.
Why this topic now
Checked November 11, 2026: the United States overview on Pinterest Trends reported Christmas Window Painting: +200% month-over-month in Pin saves. The displayed chart covered August 14–November 6, 2026 and rose at its latest endpoint. This is Pinterest saving activity with a five-day data lag, not search volume, sales, a forecast or proof of overall demand. The marker project is a related practical idea, not a claim that this exact method is trending.
Sources and a related project
Primary references, checked November 11, 2026: Crayola’s window-decorating guidance and Crayola’s washable-window-marker cleanup advice for glass. For another small-space project, see how to arrange a small holiday display on a console table.
What you need
- Washable markers specifically labeled for window glass; choose one or two colors
- A suitable closed indoor glass window, with its care instructions checked
- Scrap paper and an ordinary pencil for practice
- A clean soft cloth and water for the removal test and cleanup
- A dry soft towel for finishing
- An old towel to protect the sill and nearby surface
Steps
-
Choose a small, reachable area
Read the marker label and check that your window surface is suitable. Use a lower corner of a closed window that is comfortable to reach from the floor. Lay an old towel over the sill and move curtains away from the work area. Leave the window hardware and opening edges completely clear.
Plan just three snowflakes for your first attempt. A small cluster is easier to tidy than a full-window mural, and you can stop before the design becomes crowded.
-
Test that the ink comes off
Clean a small, inconspicuous part of the glass using the window maker’s care instructions, then dry it. Make a short mark with the window marker and let it dry as directed on the label. Remove it using the maker’s recommended method before committing to the design.
For Crayola washable window markers on glass, the manufacturer lists water among its cleaning options and recommends a dry towel afterward to remove residue. If your test leaves a mark or changes the surface, stop. Do not try stronger chemicals or a scraper to force a result.
-
Practice a six-spoke snowflake on paper
With an ordinary pencil on scrap paper, draw a vertical line about 8 cm long. Draw two diagonal lines through its middle, one sloping each way. Think of their ends as the 12, 2, 4, 6, 8 and 10 positions on a clock. You now have six spokes meeting at one center.
Near the end of each spoke, add two short strokes that branch outward toward the tip, like a little fork. Repeat once at about 5 cm across. The measurements are only practice sizes; equal-looking spacing matters more than perfect angles.
-
Draw three simple shapes on dry glass
After the removal test passes, clean and dry the small area you will decorate. Make one six-spoke snowflake using the same three-line pattern, then add its short branches. Use a light touch and follow any marker preparation instructions on the package.
Add two smaller snowflakes nearby, leaving at least a finger’s width of clear glass between them. Keep your hand off fresh ink and follow the label’s drying guidance before working close to a wet shape. Do not lean on the glass or reach beyond a comfortable position.
-
Step back and tidy the design
Check the arrangement from a few steps away. If the shapes feel crowded, remove one rather than filling every gap. Add a few tiny dots only where you want a little extra detail. Keep the main view and all window hardware clear.
For a smudge, use the same tested removal method on just that patch, dry it and redraw. If the ink beads up or will not make a clear line, recheck the surface and marker instructions. Do not substitute permanent ink or mix in other products.
-
Cap the markers and plan cleanup
Put the caps back on, store the markers as their label directs and remove the protective towel once the area is dry. Keep the marker packaging so you can check the removal directions later.
When you are ready to remove the design, use the method that passed your test. With Crayola washable window markers on glass, start with water and a soft cloth, then finish with a dry towel to clear remaining residue. Keep runoff away from frames and seals. If residue persists, stop and consult the marker and window makers’ advice instead of using blades, abrasive pads or mixed cleaners.
Can ordinary washable markers replace window markers? Not for this tutorial: use a product specifically labeled for the surface. What if the window has a coating or film? Skip it until compatibility is confirmed, or practice the same design on paper instead.