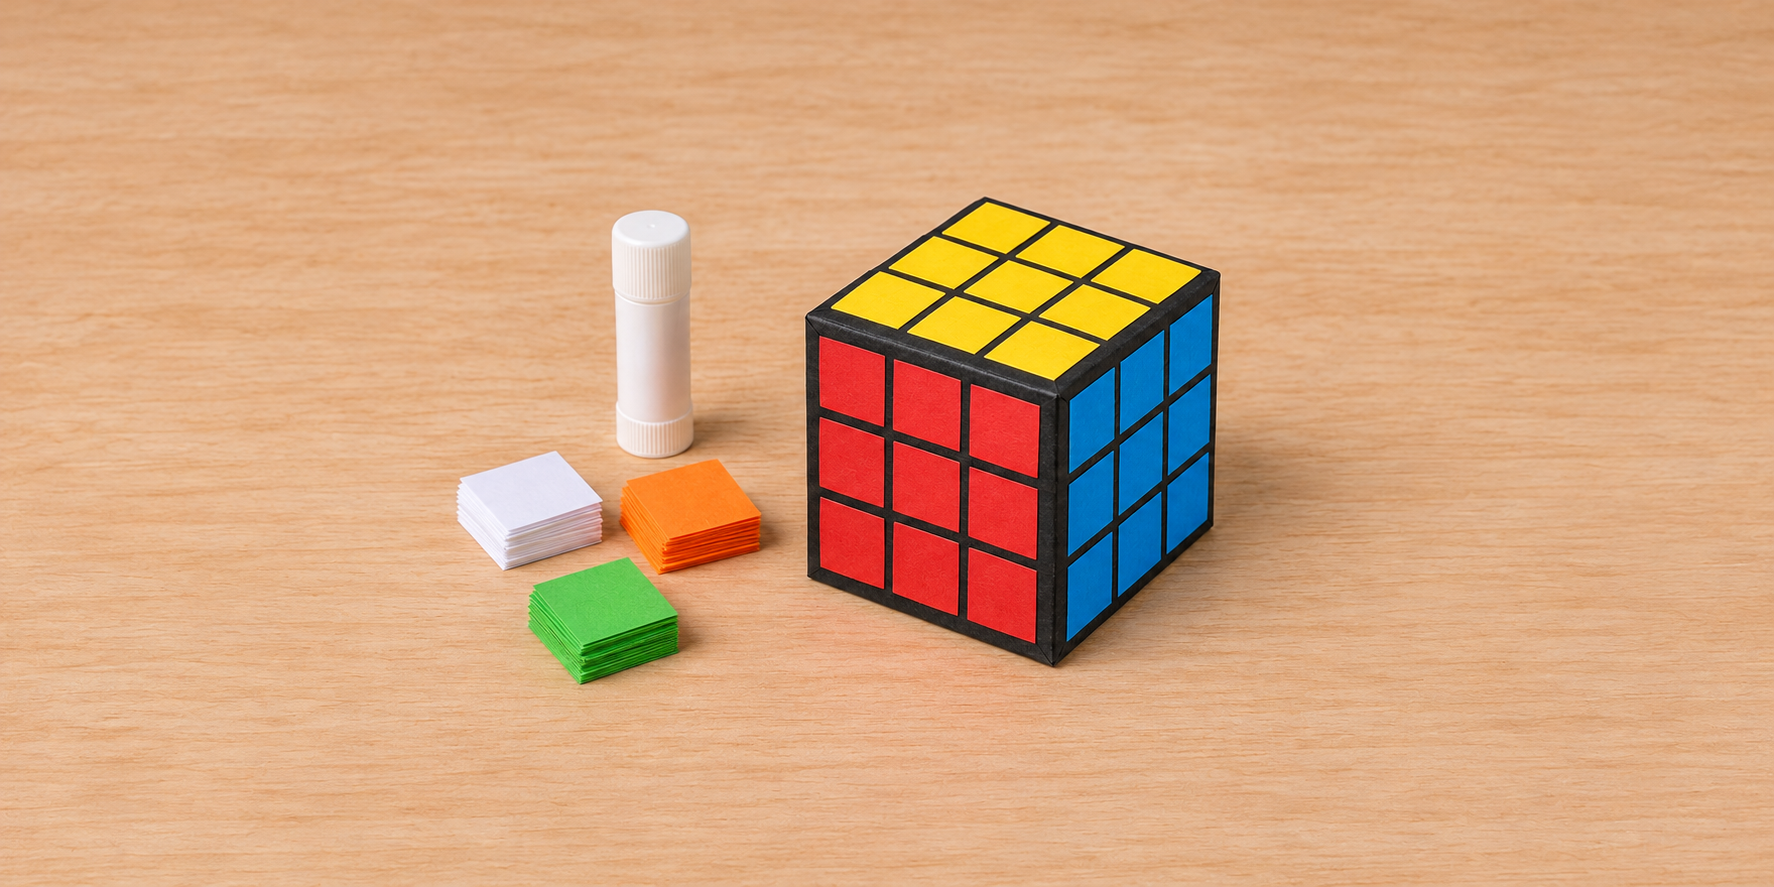
A small cardboard box can become a bright, cube-inspired table decoration without paint, hot glue or a craft knife. This guide uses six paper-covered faces, each with a three-by-three grid. The finished box is a stationary decoration, not a working puzzle or a child’s toy.
Why this project now: On 9 November 2026, Pinterest Trends for Great Britain and Ireland showed Rubik’s Cube Birthday Ideas at +90% month-over-month Pin saves, with the displayed chart covering 13 August–5 November 2026. This measures saves for that birthday-ideas spotlight, not searches for this particular box project.
Allow about 45 minutes of hands-on time, plus your adhesive’s drying time. The example below fits a cube whose finished faces measure 15 cm square. Measure your own box before cutting. The hero is an AI-generated illustration of the intended paper-covered result.
What you need
- A clean, dry, sturdy cube-shaped cardboard box, ideally about 15 cm per side; tape to secure its flaps
- Matte black paper, enough to cover all six faces
- Colored paper or light card in red, orange, yellow, green, blue and white
- A ruler, pencil, scissors and scrap paper for a test template
- A glue stick labeled for paper and cardboard; a protective work surface
Steps
-
Choose and prepare a stable box
Use an empty box with six square faces. Measure its height, width and depth: a long rectangular box will not give the same cube effect. Reject damp, crushed or dirty packaging, and choose a box without exposed staples or sharp edges. Close the flaps and tape them flat so the box sits without rocking.
Clear food and drinks from the work area. Read your adhesive’s label, use age-appropriate supplies and supervise children closely. Let an adult do any cutting a child cannot manage safely. Health Canada’s arts-and-crafts safety guidance also recommends following product instructions and washing hands after crafting.
-
Give all six faces a black background
Cover the box with black paper, keeping folds and joins flat. Alternatively, cut one fitted black panel for each face and glue it in place. Cover exposed cardboard edges with narrow black strips before adding panels. Avoid thick overlaps where the colored squares will sit.
Use a small amount of adhesive and allow the covering to set according to its label. A glue stick specifically suitable for paper and cardboard is enough for this lightweight project; Elmer’s lists both materials for its all-purpose glue stick. Test your own glue on a scrap first, especially with glossy paper. No particular brand is required.
-
Work out one face before cutting the full set
Measure the covered face, not just the box’s advertised size. For a finished face measuring 15 cm by 15 cm, use nine 4 cm by 4 cm colored squares. Leave 7.5 mm of black at each outside edge and between neighboring squares.
The fit is exact: three 4 cm squares take 12 cm, and four 0.75 cm spaces take the remaining 3 cm. Those four spaces are the left border, two internal gaps and the right border. Repeat the same spacing vertically.
For another size, choose a gap, subtract four of those gaps from the face width, then divide what remains by three to find the square width. Use the same measurement for its height. If the face is not square, use a different box or accept a rectangular, cube-inspired design. Cut one scrap-paper square and test three copies across before committing your colored paper.
-
Cut and dry-fit the colored squares
For the 15 cm example, mark 4 cm intervals on the back of the colored paper and join them with a ruler. Cut along those lines with scissors. Make nine squares in each of six colors, 54 squares in total. Keep each color in its own stack and check the pieces against your template.
Lay nine squares of one color on one face without glue. Start with the center square, then line up the middle row and column before filling the corners. Check that the black lines look even from straight above. A spare 7.5 mm-wide paper strip can help check spacing, but remove it before gluing. Use one color per face for a simple solved-cube look.
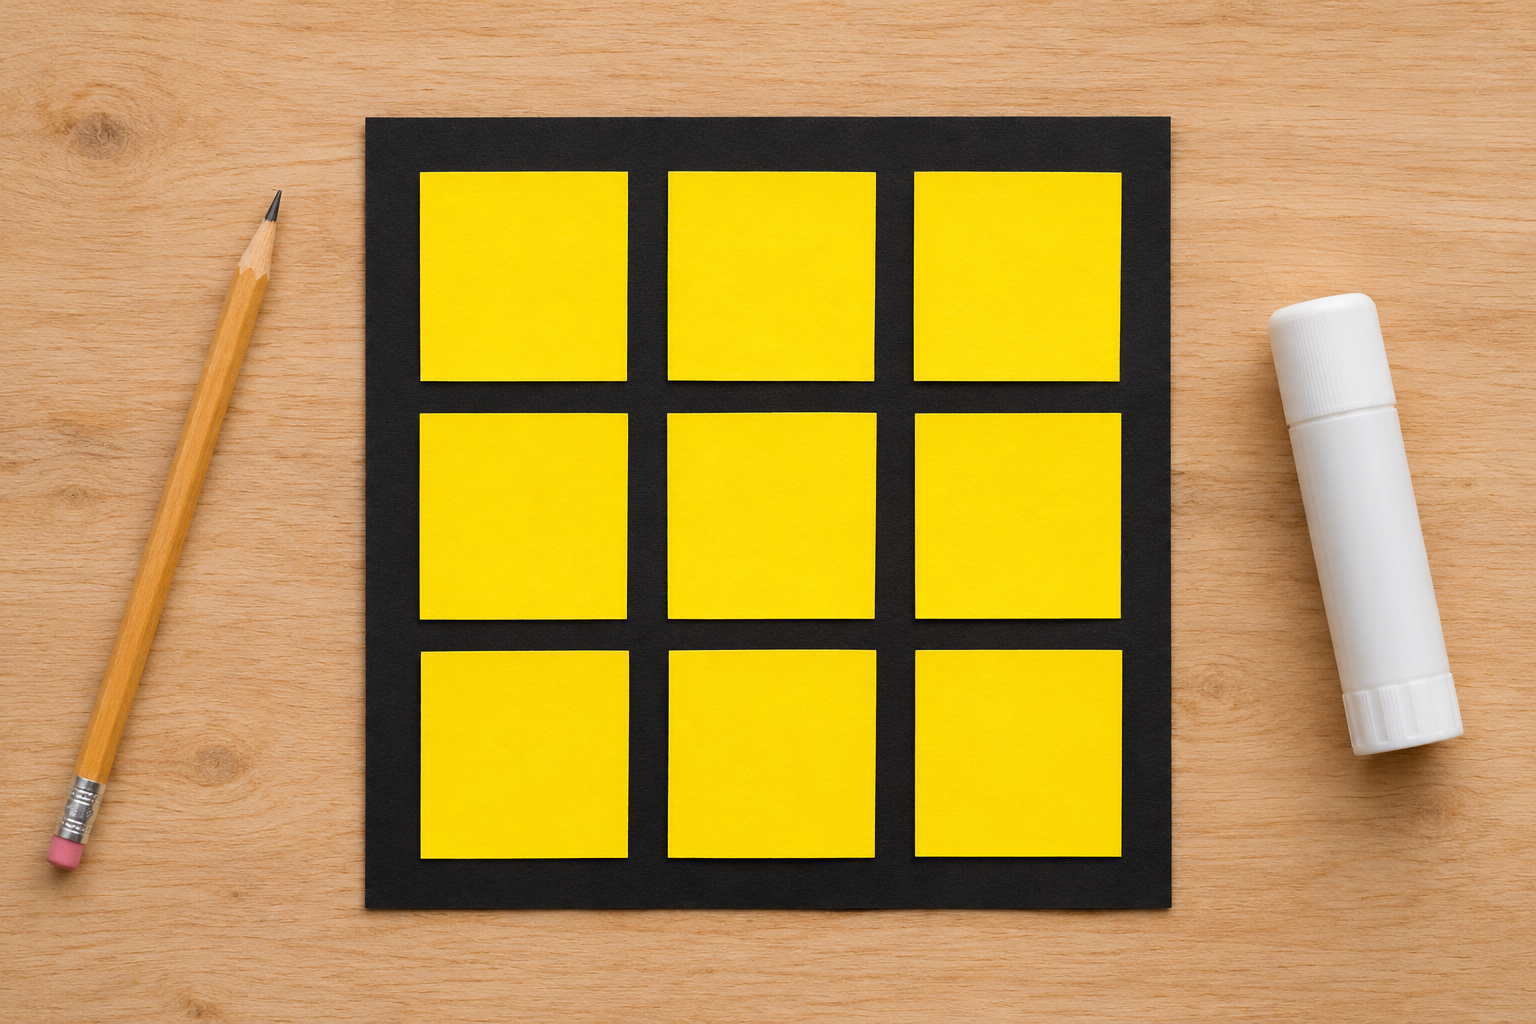
AI-generated layout illustration: leave a black border and gaps around all nine squares. Use the written measurements for your own box; do not trace the image.
-
Glue one face at a time
Once the layout fits, lift one square, apply a thin, even layer of glue to its back and return it to position. Press it flat with clean fingers. Repeat without moving the remaining loose pieces. Keep adhesive away from the visible black gaps.
Let that face dry enough to handle, following the glue label, before turning the box. Continue around the sides, then finish the top and bottom. Do not rest a freshly glued face on the table. If paper curls, use less glue on the next piece and choose lighter paper or a glue stick better suited to it. If a square lifts after drying, reattach its edge rather than adding a thick blob.
-
Check the grid and display it safely
Look at every face from straight on: each should have three rows, three columns and nine squares, with visible black gaps. If a row runs into the edge, correct the layout before the glue sets; do not hide the problem by making the last square unusually narrow.
Set the dry decoration on a stable indoor surface, away from candles, heaters, water and young children or pets who might pull off the paper. Do not stack it where it could fall, sit on it or use it as a cake stand. Keep unwrapped food off the craft materials. Store it dry after the party.
Quick fixes
The last row will not fit: Recheck the actual face width and count all four spaces, including both outside margins.
The black lines look uneven: Check the square sizes and flatten bulky seams underneath. Dry-fit the next face before applying glue.
Can it turn like a real puzzle? No. It is one closed cardboard box, made only for display.
Project note: The box-and-paper approach is also demonstrated in B+C Guides’ cube-decoration tutorial. This version adds an independently calculated 15 cm layout, a dry-fit sequence and troubleshooting. It is a source-informed craft guide, not a claim of hands-on testing. Both images are AI-generated illustrations, not photographs of a completed test. This independent project is not affiliated with Rubik’s.