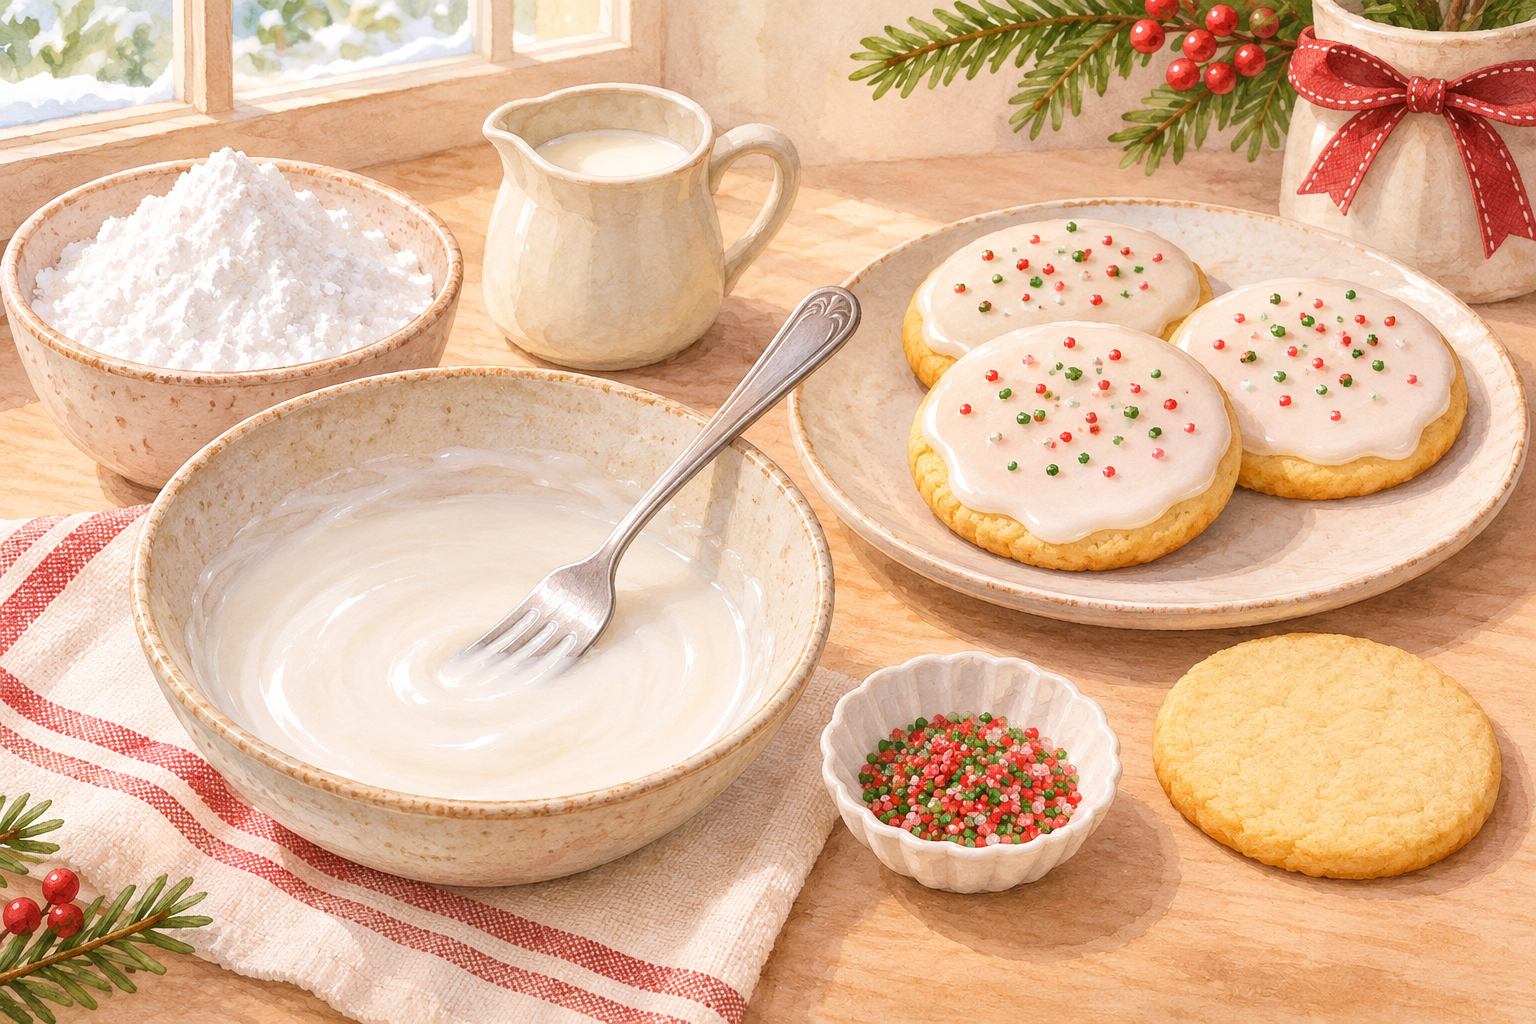
A spoon and a bowl are enough to give baked cookies a smooth, sweet coating. Start with one test cookie, then adjust the glaze before decorating the rest of the tray.
Time: about 15 minutes of hands-on work. Baking and cooling the cookies, plus several hours of drying, are extra. The batch makes about 2/3 cup of glaze, enough for roughly 18 cookies depending on their size and coating thickness.
Hero image: AI-generated illustration of a bowl of glaze and decorated cookies, not a photograph of a tested batch.
Before you begin
Use plain, fully baked cookies that have cooled completely. This glaze contains milk. Check the cookies, syrup, colors and decorations for allergens before serving. No eggs are added to the glaze, but that does not make the finished cookies egg-free.
Keep craft glitter and decorative greenery away from food. The FDA advises using only edible decorating glitter or dust with an ingredient list. A “non-toxic” label alone does not mean it is edible.
Visual guide
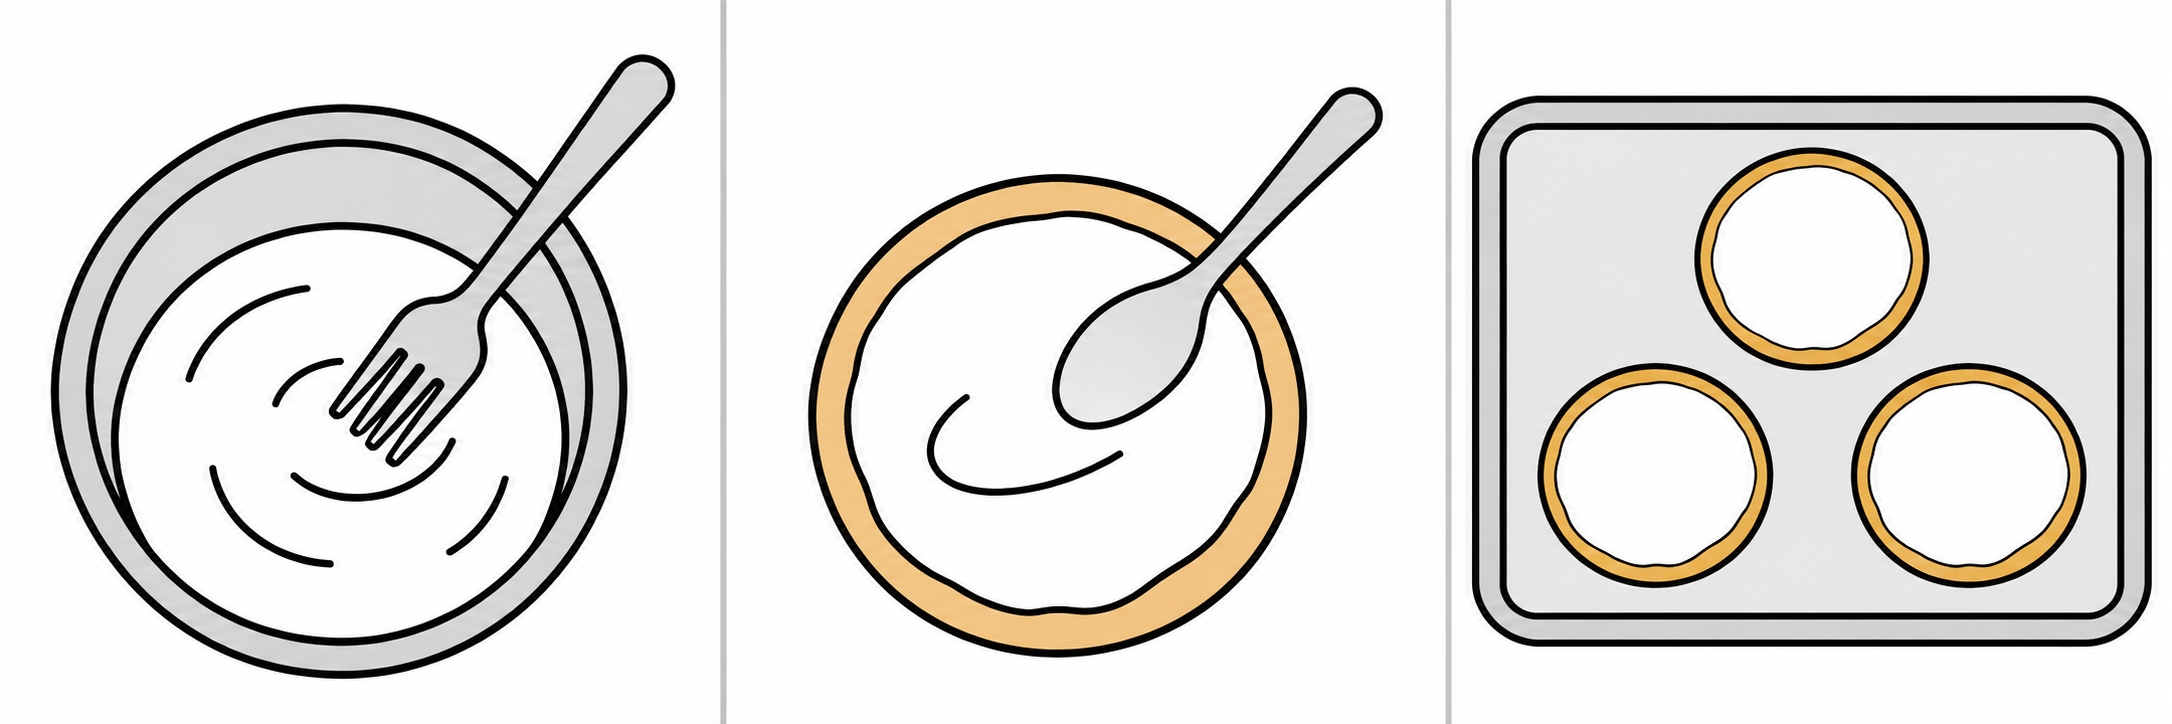
AI-generated visual guide: mix, test and spread, then dry in a single layer. Follow the measured ingredients and written steps below.
Mix a thick base, test one cookie, then leave the coated cookies in a single layer to dry.
Recipe and technique sources
The quantities and consistency check below are adapted from King Arthur Baking’s Simple Cookie Glaze. Cookie preparation and decorating guidance comes from its cookie decorating techniques and decorating tips. This is a source-based guide, not a claim of hands-on testing.
Why this topic now?
Checked November 9, 2026, Pinterest Trends, with United States selected, showed “Christmas Cookie Recipes” up 80% in Pin saves versus last month. Its chart covered August 14–November 6, 2026. Pinterest did not show the exact comparison-window dates. This is a broader cookie-decorating interest signal, not a measurement of searches for this glaze.
What you need
- 255g (2 1/4 cups) sifted confectioners’ sugar
- 35g (2 tablespoons) light corn syrup
- 14–28g (1–2 tablespoons) milk, added gradually
- About 18 plain baked cookies, completely cooled
- A medium mixing bowl and fork
- A kitchen scale or measuring cups and spoons
- A small spoon or food-safe spreading spatula
- A tray and parchment paper
- Optional: food-use gel coloring and edible sprinkles
Steps
-
Prepare the cookies and tray
Wash your hands and use clean utensils. Set completely cooled cookies on a parchment-lined tray, leaving room to lift each one. Gently remove loose crumbs with a clean, dry pastry brush if you have one. Reserve one cookie for testing.
-
Mix a thick base
Put the sifted sugar and corn syrup in the bowl. Add just 1 tablespoon of milk to start. Stir with a fork until the mixture is smooth and no dry pockets remain. Keep the remaining milk beside you rather than pouring it all in.
-
Test the glaze on one cookie
Spread a little glaze on the test cookie. It should settle into a smooth layer in about 30 seconds. If it stays ridged, stir in milk 1/2 teaspoon at a time, using the remaining measured milk gradually. Retest before coating the batch. Stop when it levels without running off.
-
Spread a thin, even coating
If using food-use gel color, stir in a little according to its label. Spoon a small amount of glaze onto each cookie and gently guide it outward with the back of the spoon, leaving a narrow border. Start sparingly; it is easier to add a little more than to rescue an overflowing edge.
-
Add edible decorations and allow drying time
Add edible sprinkles while the coating is still wet, if wanted. Leave the cookies spaced apart in one layer in a clean, protected spot. Allow several hours for the surface to dry; do not stack them or press wrapping against a tacky coating.
-
Check the finish before serving or packing
Test an inconspicuous edge of your practice cookie with a clean fingertip. If it dents or feels sticky, give it more time. Once set, handle cookies by their edges. Follow the storage directions for your cookie recipe, especially if it has a perishable filling.
Quick fixes
- Glaze runs off: stir in a small amount of sifted sugar, then test again.
- Crumbs spoil the finish: stop and clear loose crumbs from the remaining cookies before continuing.
- Finish smears when packed: leave cookies in one layer until fully dry. Do not rush them into a stack.
For another beginner kitchen technique, see how to whip cream by hand without a mixer.