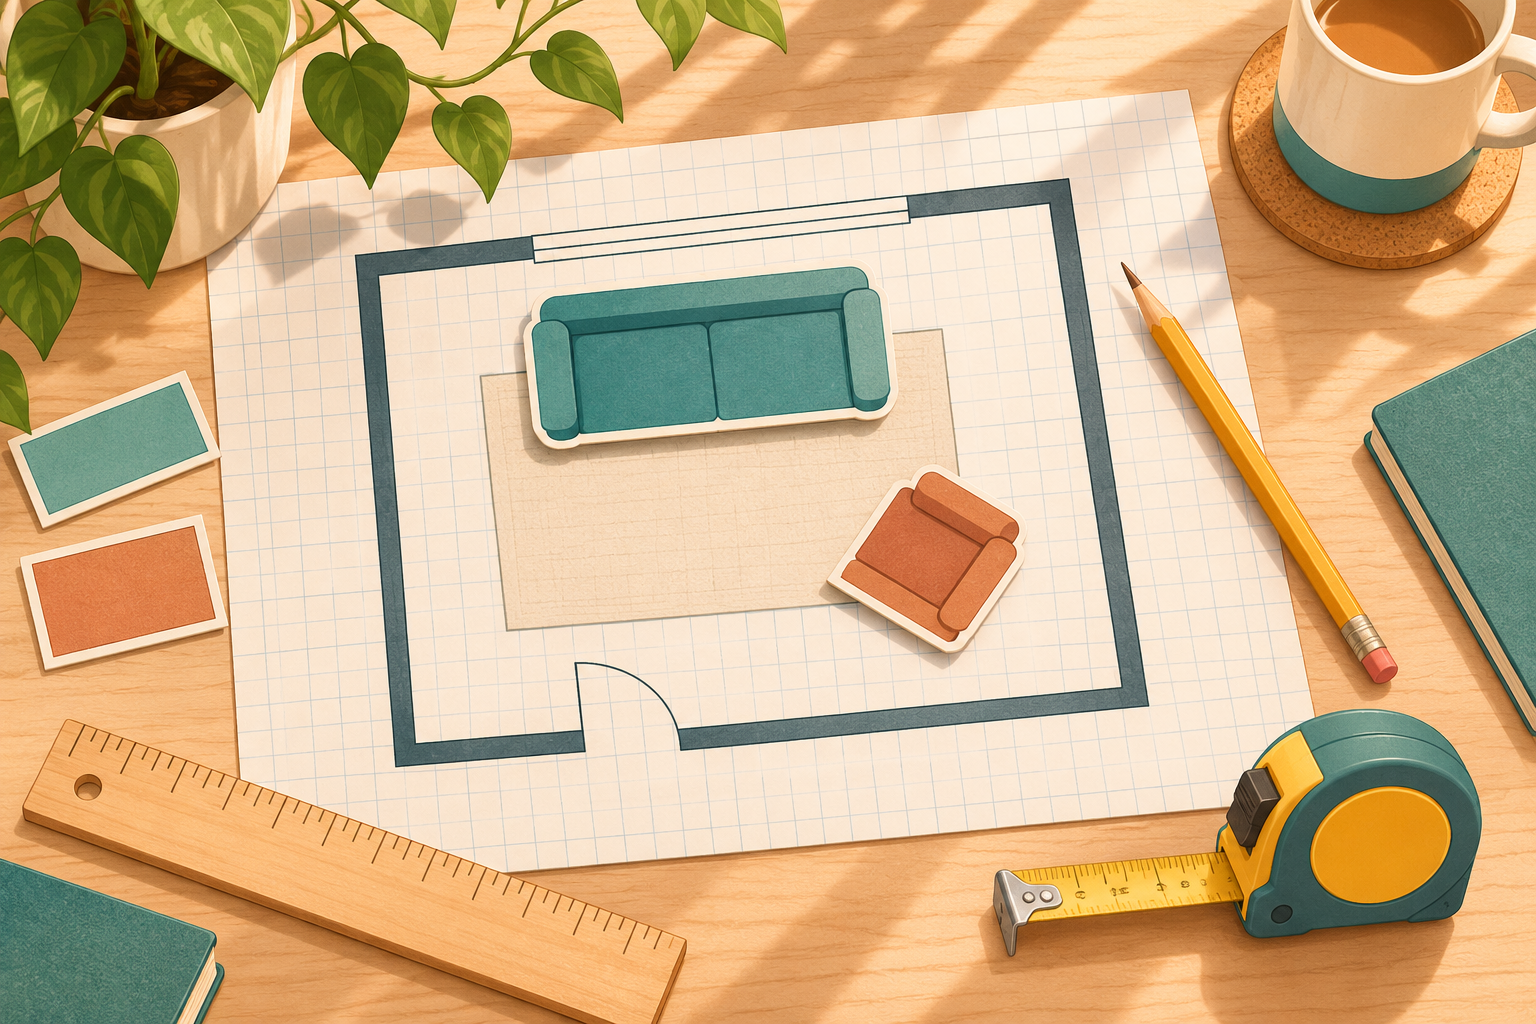
A paper layout lets you test a small living room before you lift a sofa or buy more furniture. Measure the space, draw it at one scale, then move paper furniture shapes until the room supports the way you actually use it.
Allow about 30 minutes for a first plan, longer for an irregular room. This is an editorial estimate, not a timed test. The task ends with a checked drawing; it does not require moving heavy furniture.
Hero image: AI-generated illustration of a paper room-planning setup, not a photograph of a tested room.
Before you start
Work with the furniture you already own. Use one unit throughout your measurement notes, such as centimetres, and measure from stable positions on the floor. Do not climb on furniture, detach wall anchors, move radiators or alter electrical fittings to complete a sketch. If something cannot be measured safely, label it “check later” rather than guessing.
Keep doors, escape routes, ventilation and access to controls clear. A paper plan is not a building drawing or an accessibility assessment. Leave the space your household actually needs, including mobility aids, and follow appliance clearances and furniture instructions.
Common problems and quick answers
The furniture fits on paper, but the room still feels cramped
Check that you included full furniture depth, projecting arms and space to use drawers or a recliner. Try removing one optional paper piece before shrinking the walking route.
The measurements do not agree
Remeasure the disputed wall from the same reference points. Check for skirting boards, alcoves and a tape held at an angle. Keep the actual numbers beside the drawing; do not change a measurement simply to make a rectangle close.
What if the living room is L-shaped?
Draw the outline as adjoining rectangles and record each wall segment. Mark chimney breasts or other projections separately. Do not use the longest length and width as though the whole room were open floor.
Do I need special software or new furniture?
No. Paper, a ruler and accurate measurements are enough for this first comparison. If a piece already serves two purposes, note both uses and test both positions.
Can I use this drawing to order a large sofa?
Not by itself. Separately verify the exact product dimensions, delivery packaging, entrances, stairs, turns and the retailer’s delivery requirements before ordering.
Sources and why this topic was selected
The measurement checks draw on IKEA’s room-measuring guide and RoomSketcher’s hand-drawn floor-plan guidance. IKEA’s small-space guidance informs the flexible-use check. Follow the CPSC’s furniture and TV anchoring guidance if a later rearrangement affects those items.
Trend check, 7 November 2026: Pinterest Trends for Great Britain and Ireland showed “Compact Living Spaces” Pin saves up 2,500% month over month, with a displayed historical chart covering 11 August–3 November 2026. This is interest in saving compact-living ideas, not an exact search-volume measure for this tutorial. The chart’s recent rise was observed; no forecast was used.
What you need
- Tape measure
- Graph paper or plain paper
- Pencil and eraser
- Ruler marked in centimetres
- Scrap paper and scissors for furniture shapes
Steps
-
Choose the room’s main job
Write one priority at the top of the page, such as “comfortable seating for two and space to read.” List the furniture that is essential for that job and mark everything else optional. This gives you a clear decision rule when a layout becomes crowded.
-
Measure the usable room
Sketch the wall outline roughly, then record each internal wall length. Mark door and window widths and their distance from a corner. Add the floor space taken by radiators, hearths, built-in cupboards and other projections. Note sockets and switches without touching wiring. Show which way every door opens. Keep the measurements beside the sketch.
-
Draw a base plan at one scale
Use 1 centimetre on paper for every 50 centimetres in the room, a 1:50 scale. Divide real measurements in centimetres by 50. A 3 by 4 metre room becomes 6 by 8 centimetres on paper. Draw the walls and fixed features, including door-swing arcs, using that same scale. Write the scale on the page.
-
Measure the furniture you want to keep
Record each piece’s full width and depth, including arms and other projections, not just its feet. Note height where it matters near a window or radiator. For a recliner, sofa bed or cabinet, also record the space needed when it is open or in use. Check the item’s instructions for any required clearance.
-
Make matching paper furniture shapes
Draw each footprint on scrap paper at the same 1:50 scale and cut it out. A sofa measuring 200 by 90 centimetres becomes a 4 by 1.8 centimetre rectangle. Label each shape. Use a separate outline to represent its open position if it reclines or unfolds. Do not resize a paper piece just to make it fit.
-
Test two arrangements
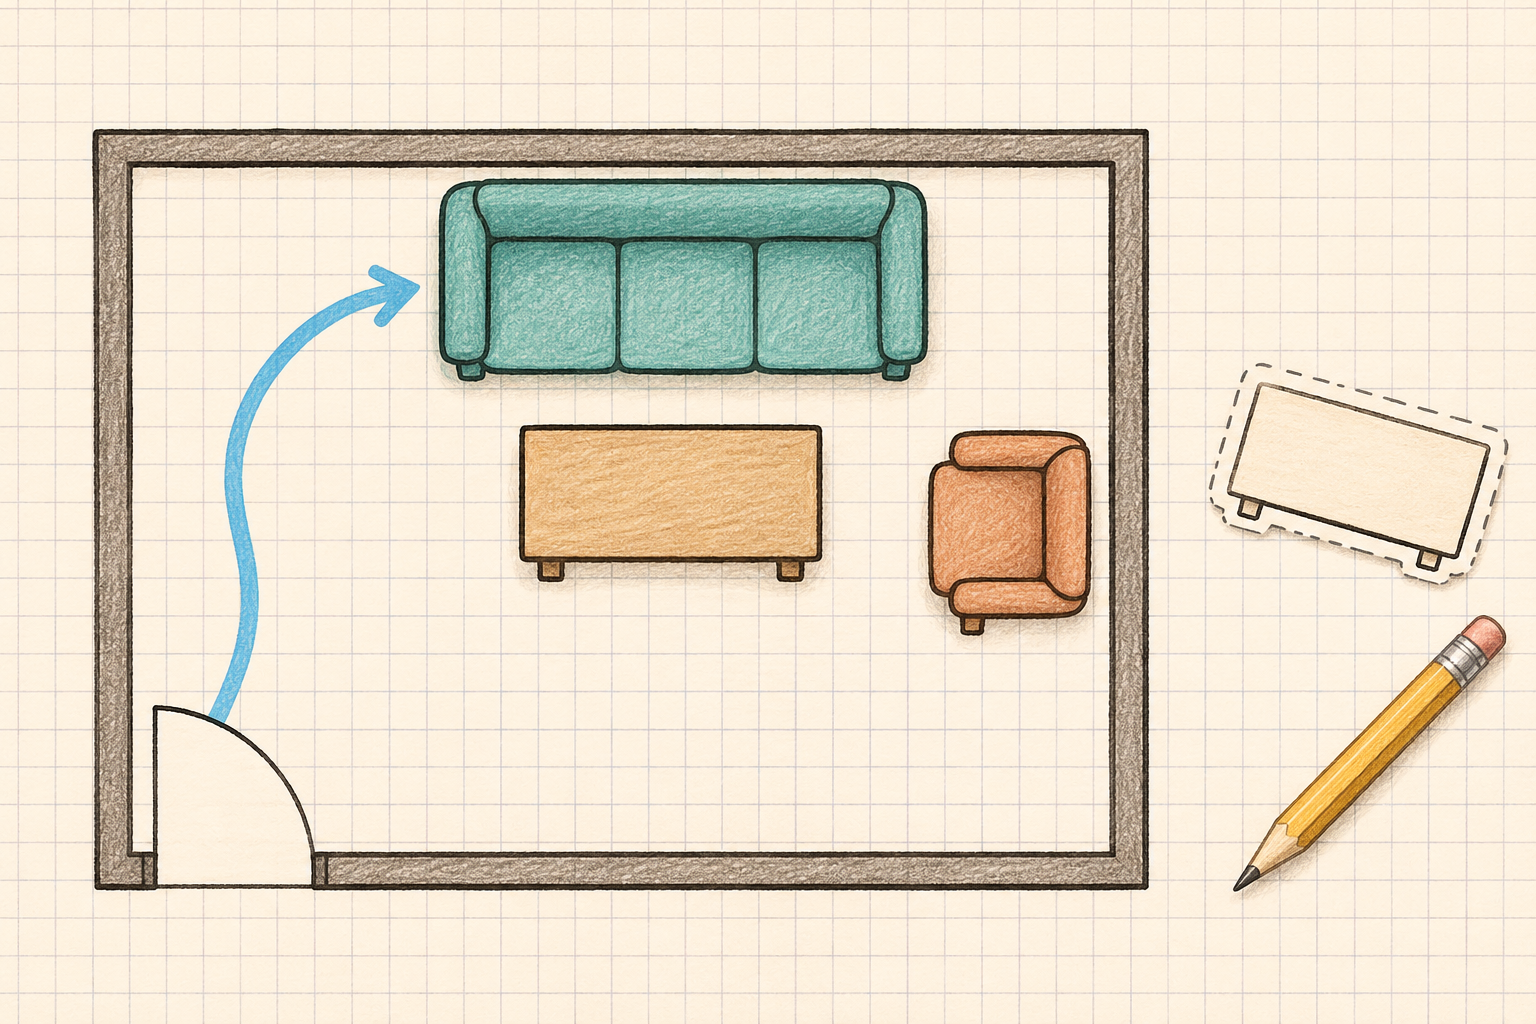
Place the largest essential piece first, then add the remaining shapes. Keep the door swings and a continuous route through the room clear. Check access to seats, storage and controls, with enough room for the people and mobility aids that use the space. Sketch or photograph the first arrangement, then try a second. Remove an optional piece if both feel crowded.
-
Check the preferred plan in the room
Use the tape measure to locate the proposed edges and gaps in the actual room without moving heavy items. Check doors, drawers, light and access from the seated position. Mark any uncertain dimension for remeasurement. Keep the plan with the fewest access problems. Before a later move, arrange help and follow manufacturer guidance for securing furniture and TVs; never leave them unanchored to suit a layout.