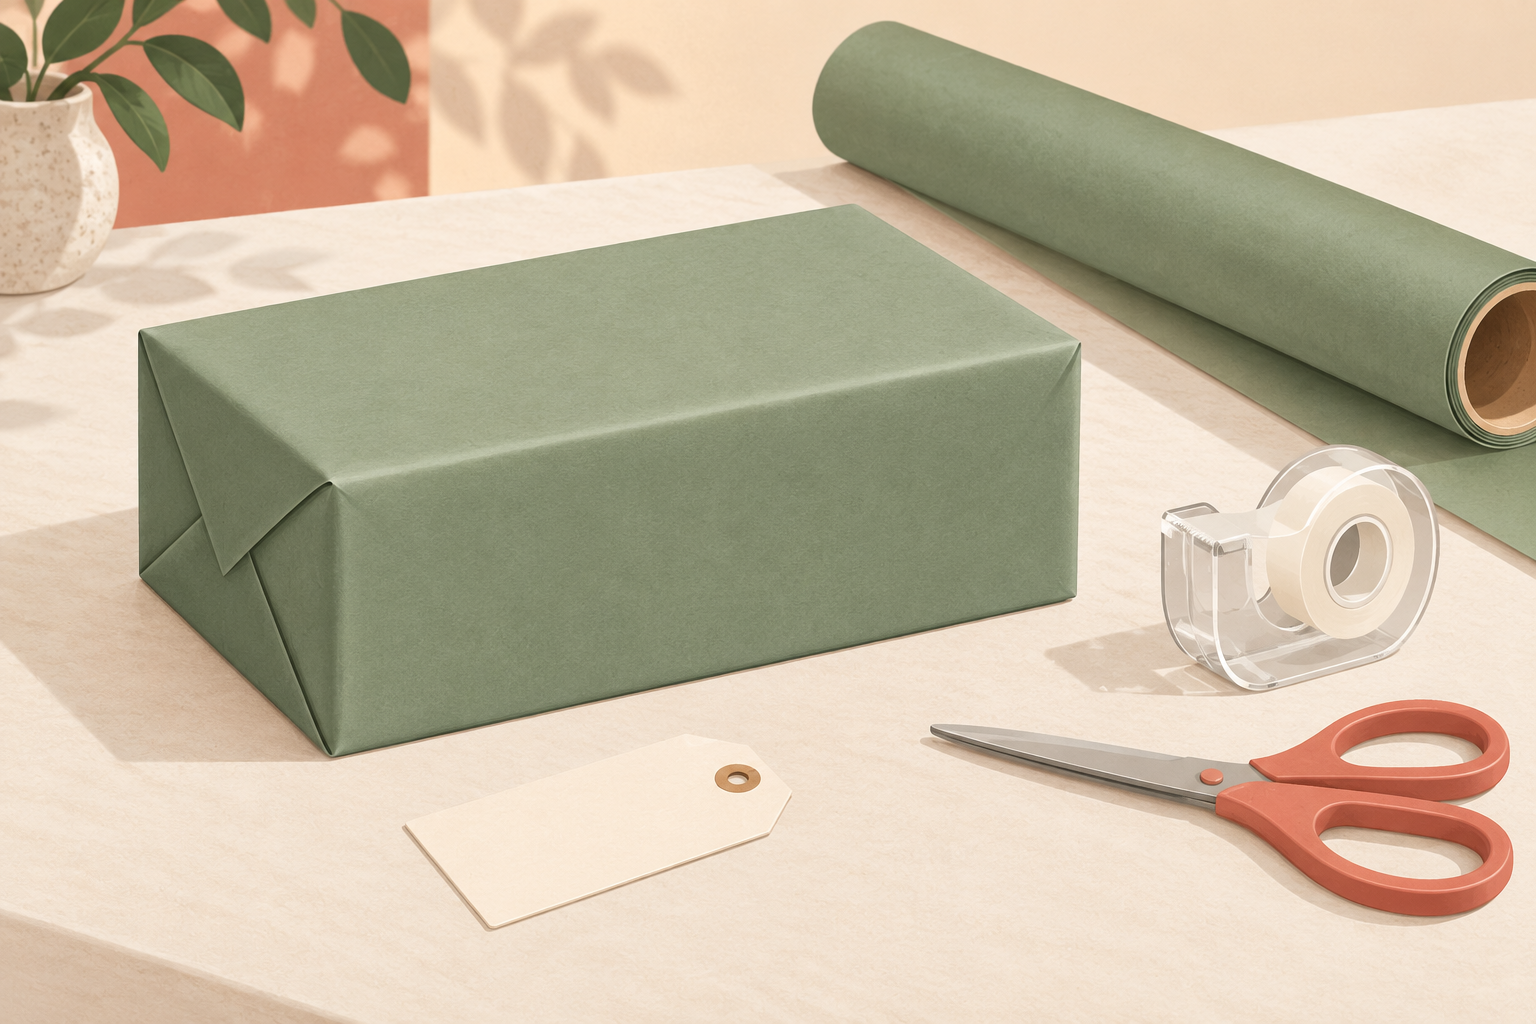
Wrap a rectangular gift box by checking the paper fit before cutting, making one tidy seam underneath, and folding each short end into overlapping flaps. Start with a firm box rather than wrapping an awkwardly shaped object directly. Allow about 10 minutes for one small or medium box; your first attempt may take longer.
Hero image: AI-generated illustration of a wrapped gift and basic supplies, not a photograph.
Before you begin
A flat, uncluttered table is easier to work on than your lap. Use ordinary wrapping paper or a clean sheet you already have. Put fragile contents in suitable protective packaging first: this tutorial creates a decorative outer wrap, not shipping protection. Keep scissors closed when you set them down, and supervise children using them.
What you need
- A closed rectangular gift box
- Wrapping paper or a clean reusable sheet large enough for the box
- Scissors
- Clear tape; optional gift tag and pen
Steps
-
Position the box
Place the closed box upside down on the plain side of the paper. The seam will sit underneath.
-
Check the fit, then cut
Bring the paper around all four long sides, allowing a couple of inches of overlap. At each short end, leave enough to reach about two-thirds up the box. Test both ends before cutting the sheet.
-
Make the bottom seam
Bring one long paper edge over the box and secure it. Pull the opposite edge across so it overlaps, without straining the paper. Tape the seam neatly near a box edge.
-
Fold the first short end
Press the two side sections inward, creasing their diagonal folds against the box. Fold the top flap down. Bring the bottom flap up over it, then tape the overlap. Keep the folds snug but gentle.
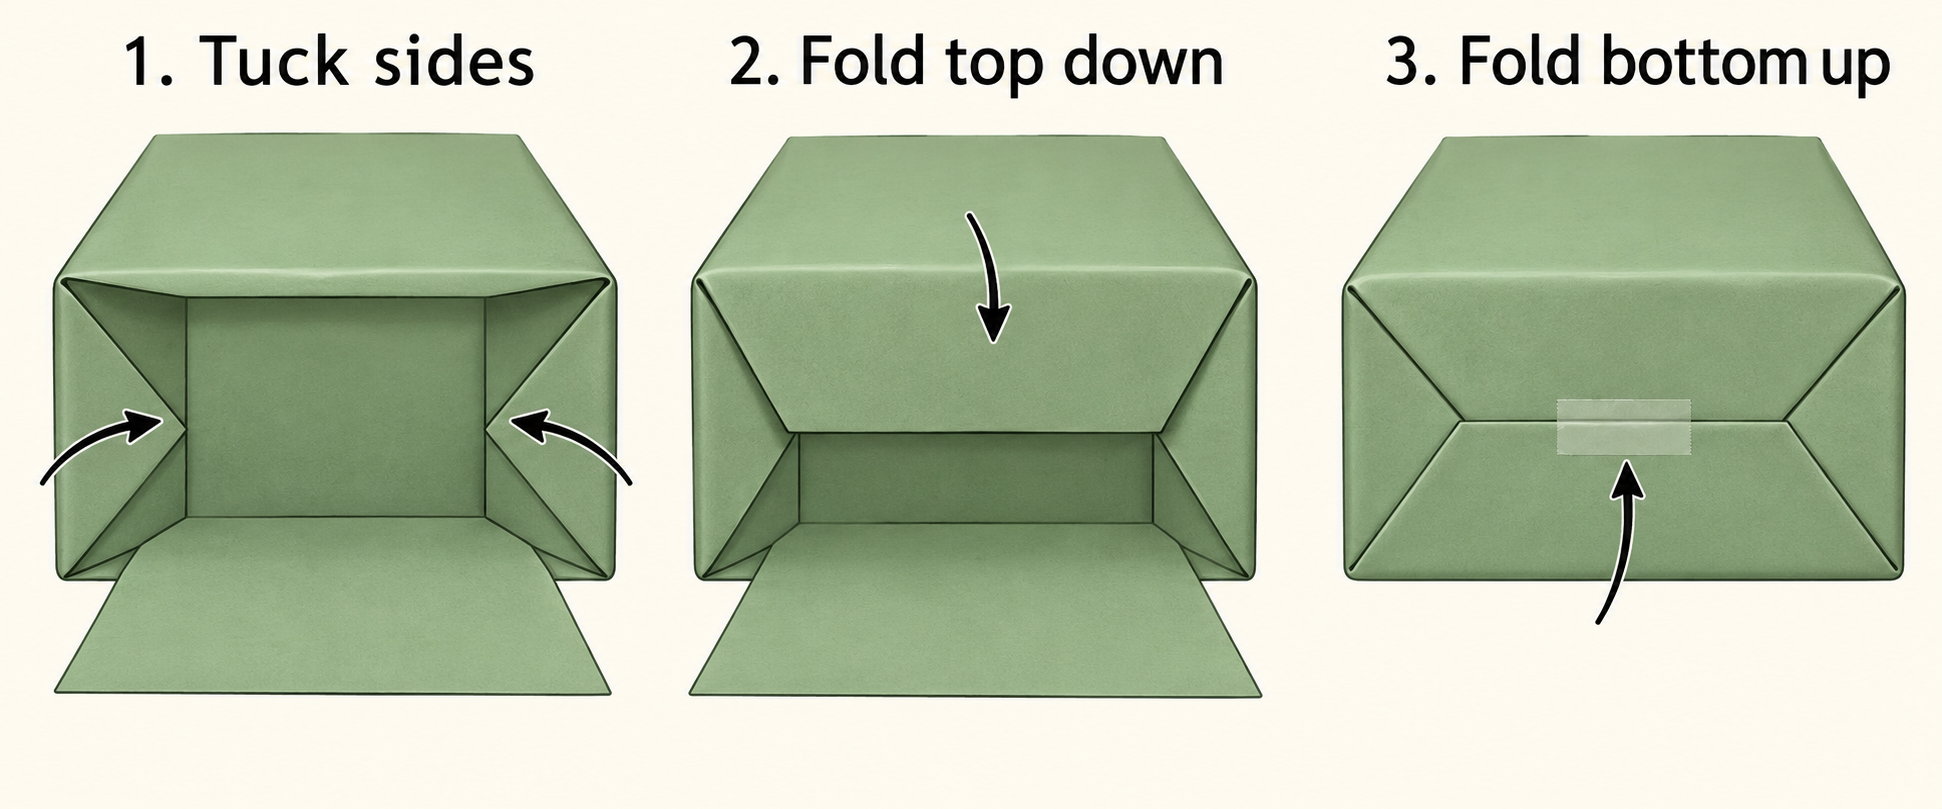
AI-generated illustration: simplified end-fold sequence. Let the final flap overlap before taping.
-
Close the other end and finish
Repeat the folds at the other end. Turn the gift right side up and add a tag. A bow is optional: a plain, tidy package is enough.
Troubleshooting
- Bulky corners: unfold the end and check for excess paper. Trim a little at a time, then test the folds again before taping.
- A gap along the seam: do not pull until the paper tears. Reposition the box if possible, or use a larger sheet. A separate contrasting paper band can disguise a small uncovered strip.
- Tape keeps showing: use short pieces where the flaps overlap. Neat, secure folds matter more than completely invisible tape.
Frequently asked questions
Can I use paper I already have?
Yes. Choose a clean sheet that bends easily and is large enough. Check for personal information on reused paper before giving the gift.
What if my present is not rectangular?
Put it in a suitable box first, or use a gift bag. This method is designed around straight edges and flat faces; forcing it around a curved object is frustrating.
Do I need special wrapping supplies?
No. Start with the box, paper, scissors and tape listed above. Optional decorations should not turn a simple task into an extra shopping trip.
Sources and topic evidence
The folding method was checked against Hallmark’s illustrated gift-wrapping guide. This is a researched beginner guide, not a claim of hands-on testing.
Topic selection: Pinterest Trends, exact query “gift wrapping”, United States, checked October 23, 2026. The growing-trends window July 23–October 20 showed +20% weekly and +30% monthly search-interest growth, with −5% yearly change. The latest observed historical endpoint was rising modestly; the older December peak had ended. Forecast values were excluded. These are Pinterest search-interest changes, not sales, saves, or proof of overall demand.