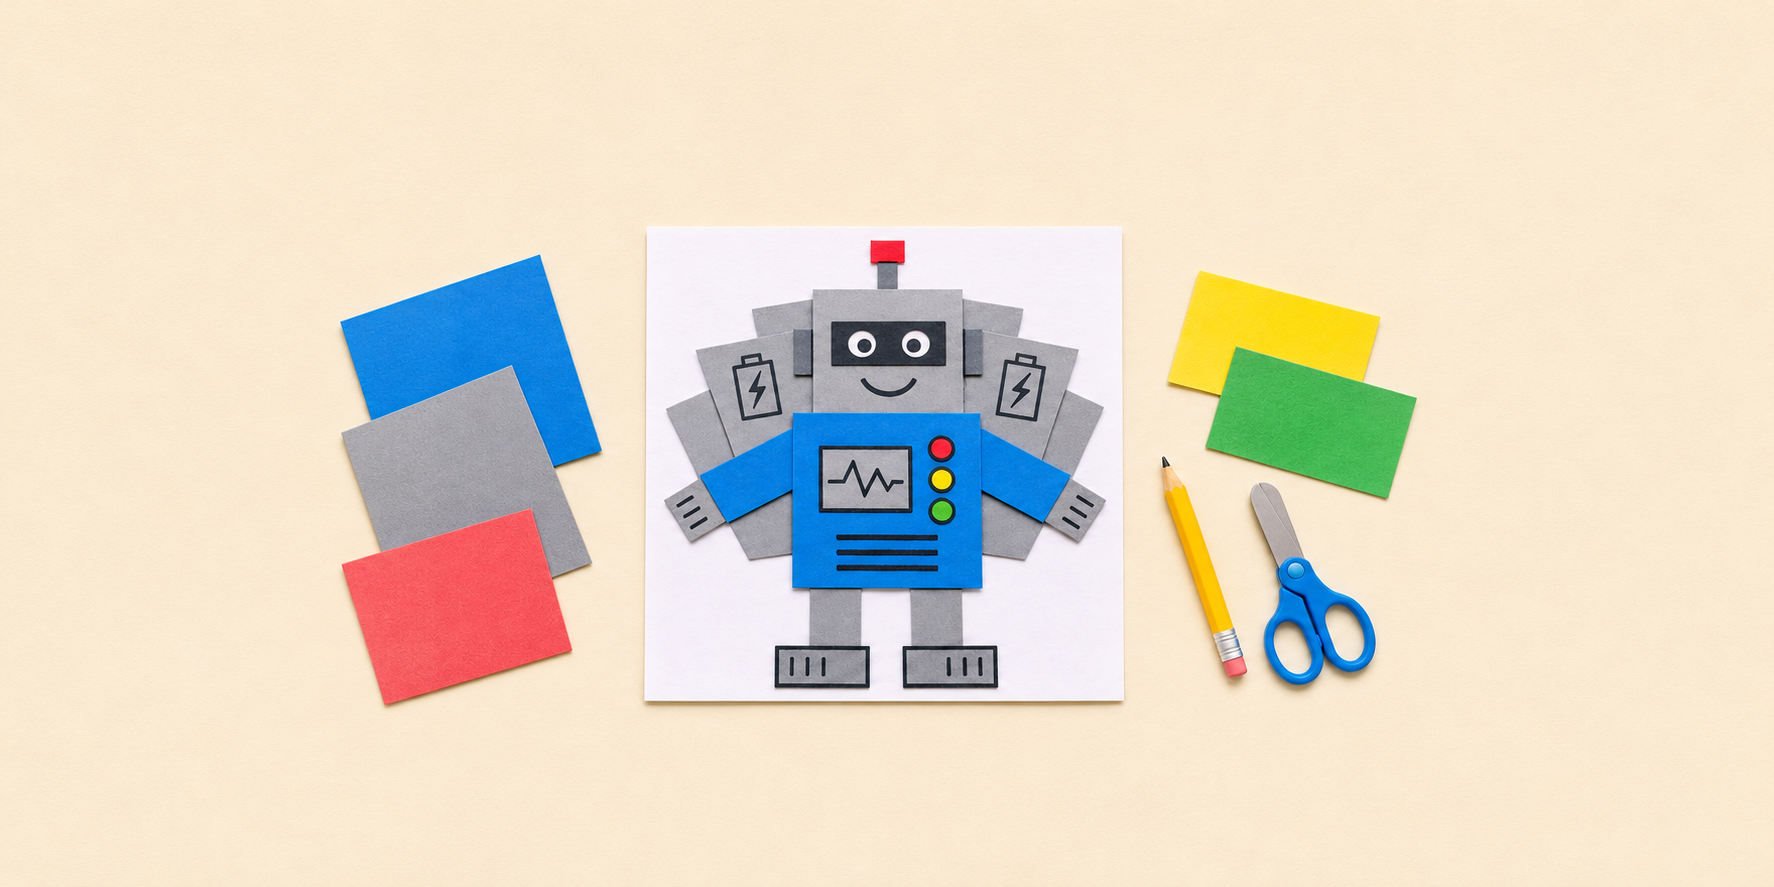
Disguise a paper turkey as a robot by covering its feather fan with rectangular paper panels, its body with a box-shaped suit and its head with a square robot face. Arrange everything before gluing, then draw the controls. This flat-paper version needs no printer, hot glue, foil or small plastic decorations.
Allow about 25 active minutes, plus the drying time on your glue label. It is a beginner project for an adult and child to do together. Let the child choose the robot’s colors, expression and job; an adult can help with cutting. If this is homework, follow the teacher’s size, template and material rules first.
Hero image: AI-generated illustration of one possible finished design, not a photograph of a tested project. The shapes and colors are suggestions.
Before you start
Use labeled, age-appropriate children’s art supplies and blunt-tip scissors suitable for the child’s skills. An adult should supervise and do any difficult cutting. Choose a child-safe glue stick and washable drawing supplies. Keep food and drinks away, keep scraps out of young children’s mouths, and wash hands afterward. Skip beads, loose googly eyes, craft knives and hot-glue tools for this version. These precautions follow the CPSC Art and Craft Safety Guide.
Start with the school’s turkey outline, or draw your own as described in step 1. Scholastic’s disguise-a-turkey activity is another starting point to view at its source. We do not reproduce its template here. You can frame the activity as a costume parade if you prefer a story without the turkey escaping dinner.
What you need
- One white letter-size or A4 sheet, preferably cardstock, or the school-provided turkey outline
- Two or three sheets of opaque colored construction paper, including scraps
- Pencil and ruler
- Age-appropriate blunt-tip scissors, with adult help as needed
- Labeled child-safe glue stick
- Washable markers or crayons for the robot’s face and controls
Steps
-
Choose or draw the turkey base
Use the assigned turkey sheet if you have one. Otherwise, place a blank sheet upright and lightly draw a large oval body, a smaller round head above it, a fan of rounded feathers behind it and two feet below. Keep the whole bird inside the page with a little margin. Add a beak and eyes so there is something to disguise. Leave the base sheet whole; you do not need to cut the turkey out.
-
Plan the robot with loose paper shapes
Lay colored paper over the drawing and mark shapes large enough to cover it. Plan a rectangle for the body, a square for the head and several wide rectangles for the feather fan. Add two arm strips, two leg strips and two shoe rectangles. The feather-covering panels can become a robot backpack. Start slightly oversized and trim only when necessary. Keep the child’s color and shape choices, even if they differ from the illustration.
-
Cut and test the disguise before gluing
Cut the shapes with age-appropriate scissors, with an adult doing difficult cuts. Place the backpack panels over the feathers first, then the legs and arms, then the body and head on top. Let neighboring pieces overlap enough to hide the original outlines. Check the beak, wing edges and toes, where small areas often remain visible. Enlarge or reposition pieces until the layout works. Do this dry arrangement before opening the glue.
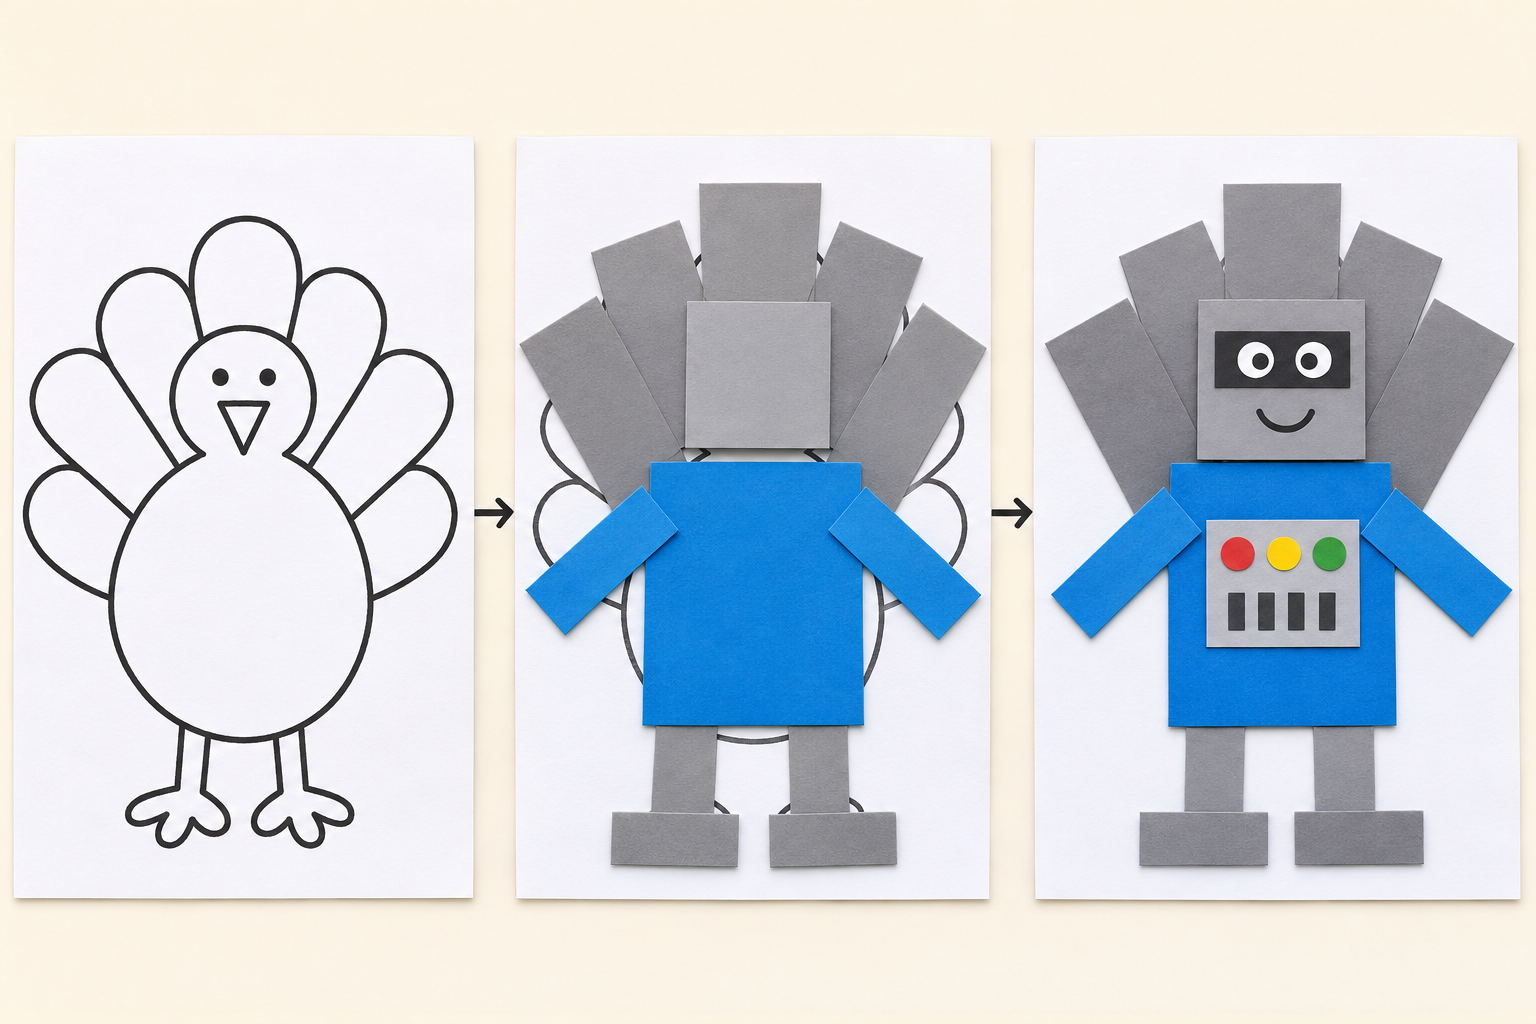
AI-generated illustration: cover the turkey outline with overlapping paper shapes, then add a drawn robot face and controls. Adjust the pieces to fit your own drawing.
-
Glue the layers from the back forward
Move the body and head aside so you can reach the lower layers. Apply a thin, even coat of glue stick to the backs of the feather-covering panels and press them onto the base sheet. Attach the limbs and shoes next, followed by the body and head. Press each piece gently, especially its corners, without dragging it across the page. Follow the glue label and leave the sheet flat while it sets.
-
Draw the robot’s personality
Once the paper is secure, draw a face or a rectangular visor on the head. Add a few control buttons, a gauge, vents or pretend screws on the body. Draw these details instead of using small loose decorations. Give the robot a name or job in the spare space if the school instructions allow it. Optional: turn the covered feather panels into a pretend battery backpack with simple drawn symbols.
-
Check, explain and pack the finished page
Look over the finished page for loose corners and any turkey features you meant to hide. Repair only what the child wants to change. Ask the child to explain the disguise in one sentence, such as “My turkey is a robot that sorts crayons.” Let all glue dry before slipping the page into a folder. Collect paper scraps, put supplies away and wash hands. This is a paper display project, not a wearable costume.
Easy fixes
- The turkey still peeks out: set a larger paper rectangle over the exposed area before gluing. Leave a border of spare paper around the outline rather than trying to cut every piece exactly.
- The page curls: use less glue and a sturdier backing sheet. Let the work dry flat before picking it up.
- A corner lifts: add a small amount of glue beneath that corner, press it down and wait for it to set.
- The pieces slide around: glue the back panels first, then the limbs, body and head. Recheck each layer before adding the next.
- Cutting feels frustrating: an adult can cut broad shapes while the child arranges and decorates them. A drawn robot costume is also a valid adaptation.
Common questions
Do I need gray paper?
No. Use any opaque paper you already have. Blue, green or patterned panels can make a convincing imaginary robot. Draw eyes, screws and control buttons rather than attaching small objects.
Must every feather disappear?
Check the assignment. For a full disguise, cover the feather outline with rectangular backpack panels. If the activity is simply to dress the turkey up, some feathers can stay visible.
Can we finish without a printer?
Yes. A large oval, a small circle, a fan of rounded feathers and two feet are enough for the starting drawing. Perfect symmetry is unnecessary because the costume will cover most of it.
How should we carry it to school?
Wait until the glue is dry, then keep the sheet flat in a folder. Avoid adding bulky pieces that prevent the folder from closing.
Why this project now?
Made to Spark’s November 2, 2026 trend report lists US Pinterest searches for “turkey disguise project” at 36 times the October comparison. The publisher attributes its figures to Pinterest’s official Trends API. This is a secondary-reported seasonal search signal, not an independent measurement of this particular robot design or a promise of future traffic.
The robot layout and steps above are an original variation on the paper-disguise activity. For another simple paper project, try our rectangular gift-wrapping guide.