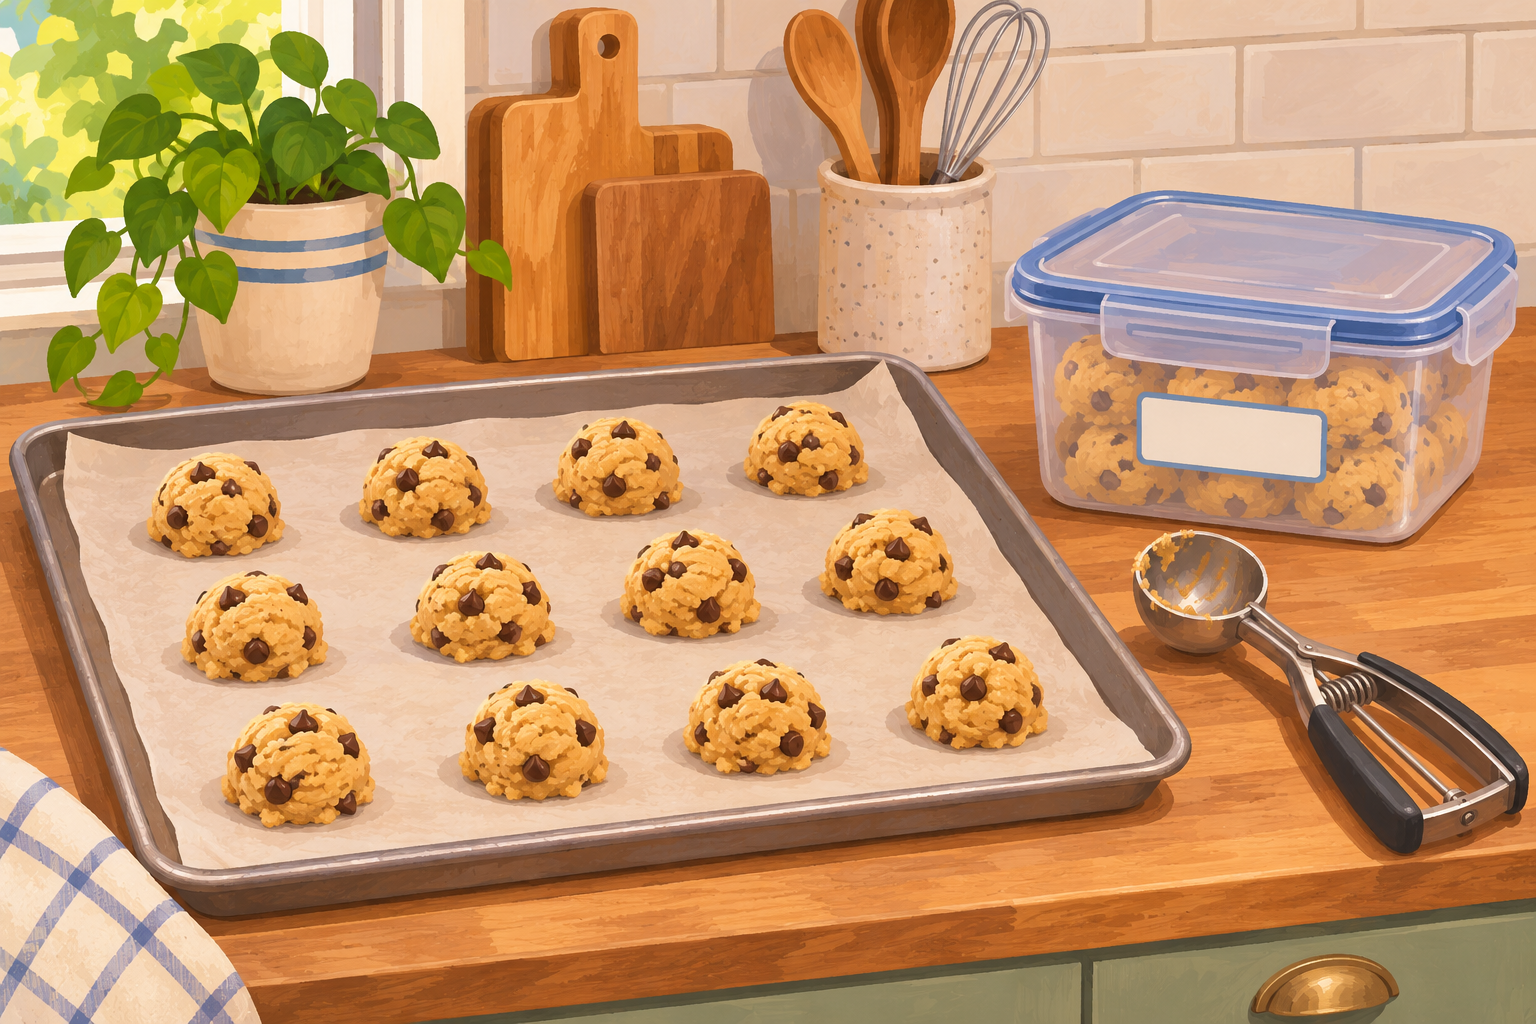
Scoop drop-cookie dough before freezing it, firm the portions on a tray, then pack them in a labeled freezer container. You can bake a few cookies later without mixing a fresh batch.
Hero: AI-generated illustration of portioned cookie dough and freezer packaging, not a photograph or evidence of a tested recipe.
This guide starts with prepared dough from a recipe that supports freezing. Allow about 15 minutes of hands-on work, plus freezing time and your recipe’s preparation and baking time. It is a preparation method, not a new cookie recipe.
Before you begin
Do not taste raw dough: both flour and eggs can carry harmful germs. Keep it separate from ready-to-eat foods and wash hands, tools and surfaces after handling it. Freezing does not turn ordinary raw dough into an edible snack.
Troubleshooting and quick answers
Can I freeze one big lump? Portioning first makes it easier to take out only what you need. If your recipe is for slice-and-bake cookies, follow its log-shaping method instead.
The portions stick together. Let them firm separately before packing. Avoid squashing soft dough into a bag.
Do I need a special tray? No. Use a clean tray that fits your freezer, plus freezer-safe packaging you already own.
How long will it keep? Follow the recipe’s stated freezing limit and label that date. Recipes differ; this guide does not assign one storage limit to every dough.
Related guide
After baking and cooling suitable cookies, try our simple cookie glaze without a mixer.
Sources and editorial note
- King Arthur Baking: portioning, freezing and baking tips
- K-State Extension: freezing cookie dough and handling it safely
- FDA: raw flour and dough safety
Topic research checked November 13, 2026 (UTC): Pinterest Trends, United States, Christmas Cookie Recipes showed Pin saves up 100% versus last month, with the displayed August 18–November 10 chart rising toward its latest point. This is topic-level saving activity, not search volume, sales, or evidence that freezing dough itself is trending. Instructions are research-based, not a report of hands-on testing.
What you need
- Prepared drop-cookie dough from a recipe with freezing instructions
- Clean baking sheet or tray that fits your freezer
- Parchment paper and food-safe cover
- Cookie scoop or two spoons
- Freezer-safe bag or airtight container
- Label and pen
Steps
-
Choose suitable dough and clear a tray space
Use a drop-cookie recipe that provides freezing guidance. Follow any required chilling before proceeding. Check that your tray fits flat in the freezer, and line it with parchment.
-
Scoop matching portions
Use the portion size stated in your recipe. A scoop is convenient, but two spoons work too. Place each portion on the tray without merging it with its neighbors.
-
Cover and freeze until firm
Cover the tray with food-safe wrap and move it promptly to the freezer. Leave it until the portions are firm throughout, often a couple of hours. They should keep their shape when transferred.
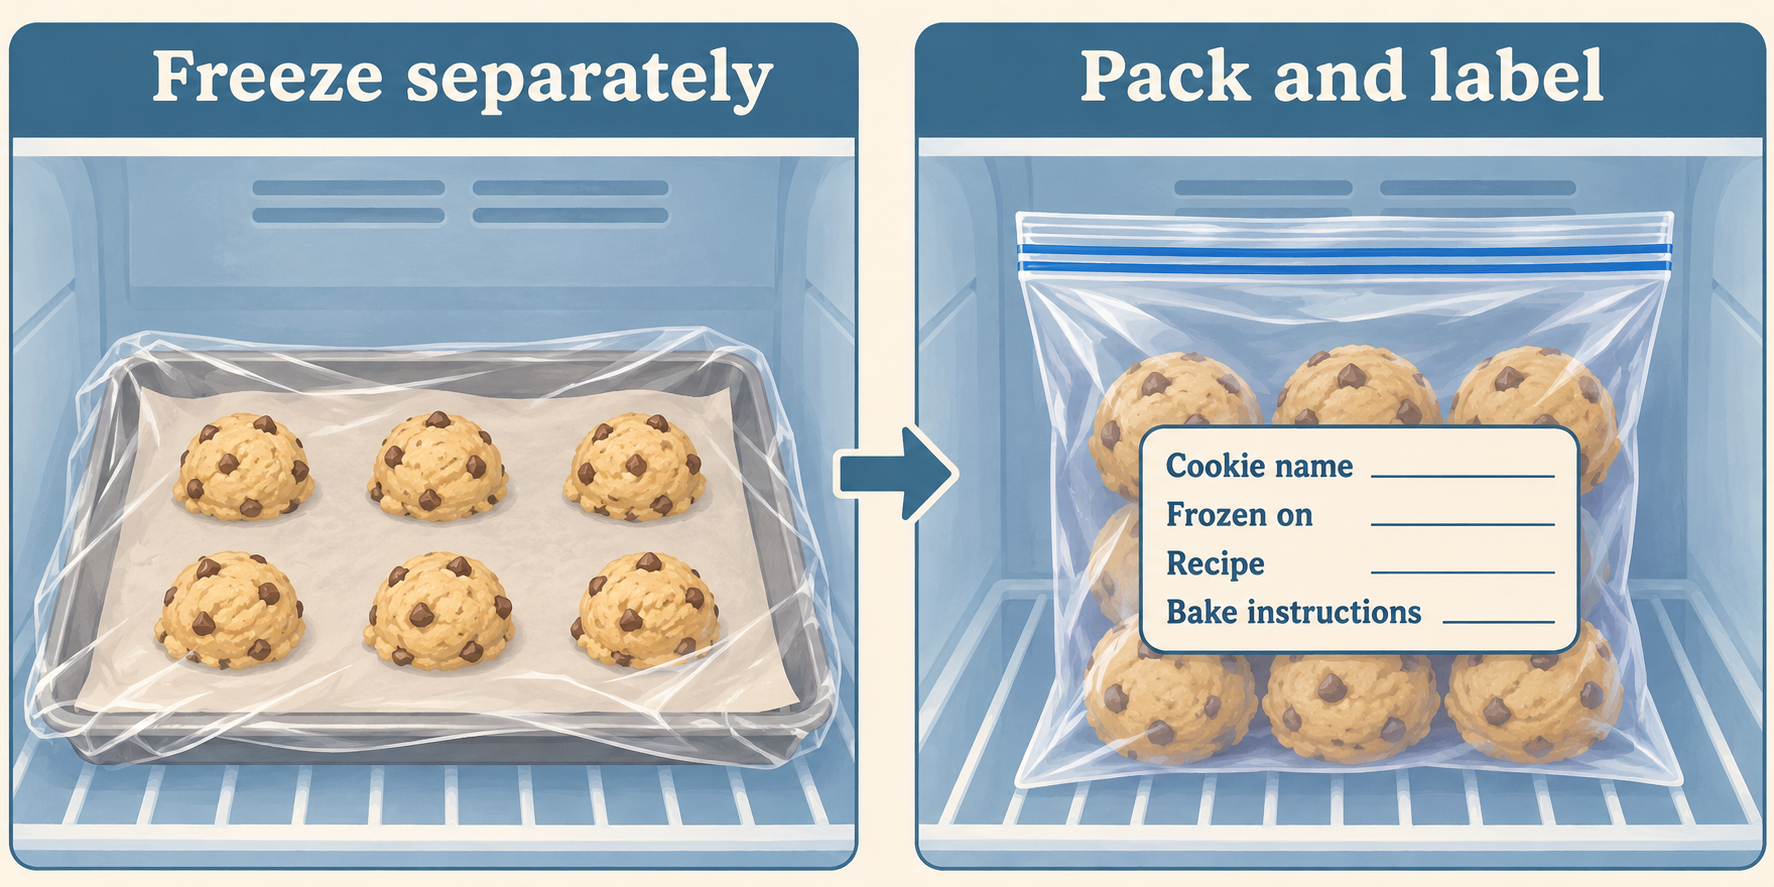
AI-generated illustration: freeze separate portions until firm before packing and labeling. This diagram is not a tested batch or a freezer-temperature measurement.
-
Pack and label the frozen portions
Move the firm pieces to freezer-safe packaging and close it securely. Write the cookie name, freezing date, recipe name and its baking instructions on the label. Add the recipe’s recommended use-by date, then return the package to the freezer.
-
Bake only the amount you need
Follow the recipe’s directions for frozen dough, including oven temperature and spacing. Frozen portions may need a little extra baking time. If the recipe calls for thawing or a different method, follow that guidance instead. Keep the unused portions frozen.
-
Finish safely and keep useful notes
Use the recipe’s doneness instructions, not a taste of raw dough, to judge the cookies. Let them cool as directed. Wash hands and clean anything that touched raw dough with soap and water. Note any recipe-specific baking adjustment on the label for next time.