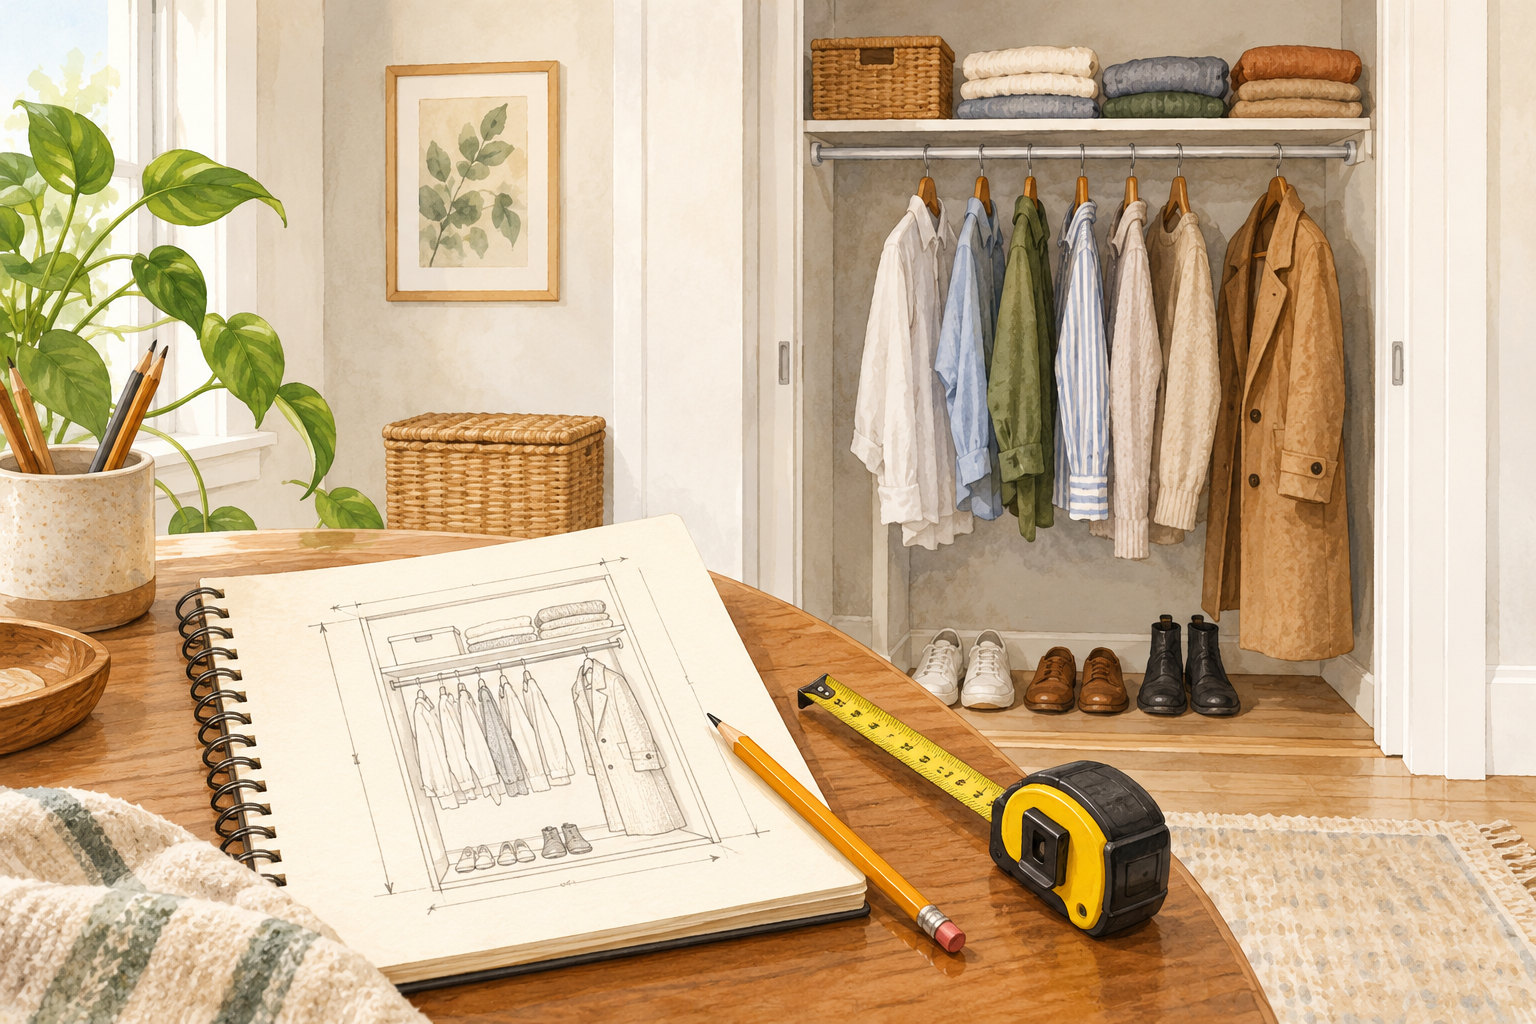
Plan a small closet by measuring the space, listing what you actually store, and sketching zones for hanging clothes, folded items and shoes. Check the door opening and everyday reach before buying any organizer. A pencil plan can reveal that a new bin would block a drawer, or that a long coat needs space you were about to fill.
This beginner guide produces a simple layout and a short requirements list in about 35 minutes of active work. It does not cover building shelves, moving fixed rods, drilling or installing a wardrobe. A full clear-out or shopping trip takes additional time.
Hero image: AI-generated illustration of a closet-planning scene, not a photograph or an installation specification.
What you need
- Tape measure already on hand or borrowed
- Paper or a notebook and a pencil with eraser
- Ruler, or graph paper if available, for a consistent sketch scale
- Your existing clothes, shoes, hangers and any bins you already own
Steps
-
Choose one closet and set a clear goal
Start with one reach-in clothes closet, not every storage space in the house. Write down the problem you want to solve: shoes hide under coats, folded piles topple, or daily clothes are hard to reach. Choose one priority so the sketch has a purpose.
Clear only enough floor space to work safely. Leave fixed shelves and rails in place. Do not climb shelving or use a chair as a step. If an area cannot be measured safely from the floor, note it for a helper rather than guessing or overreaching.
-
Measure the usable space, not just the opening
Draw a front view and a simple top-down outline. Record the inside wall width, closet depth and floor-to-ceiling height, plus the doorway width. Keep all measurements in one unit. Note the position and dimensions of existing shelves, rails, baseboards and any obstructions. Measure twice; label uncertain dimensions instead of treating them as confirmed.
Show where the door swings or slides. The full interior width and the width you can reach through the open door are different measurements. Do not cover vents, switches or access panels with a proposed organizer.
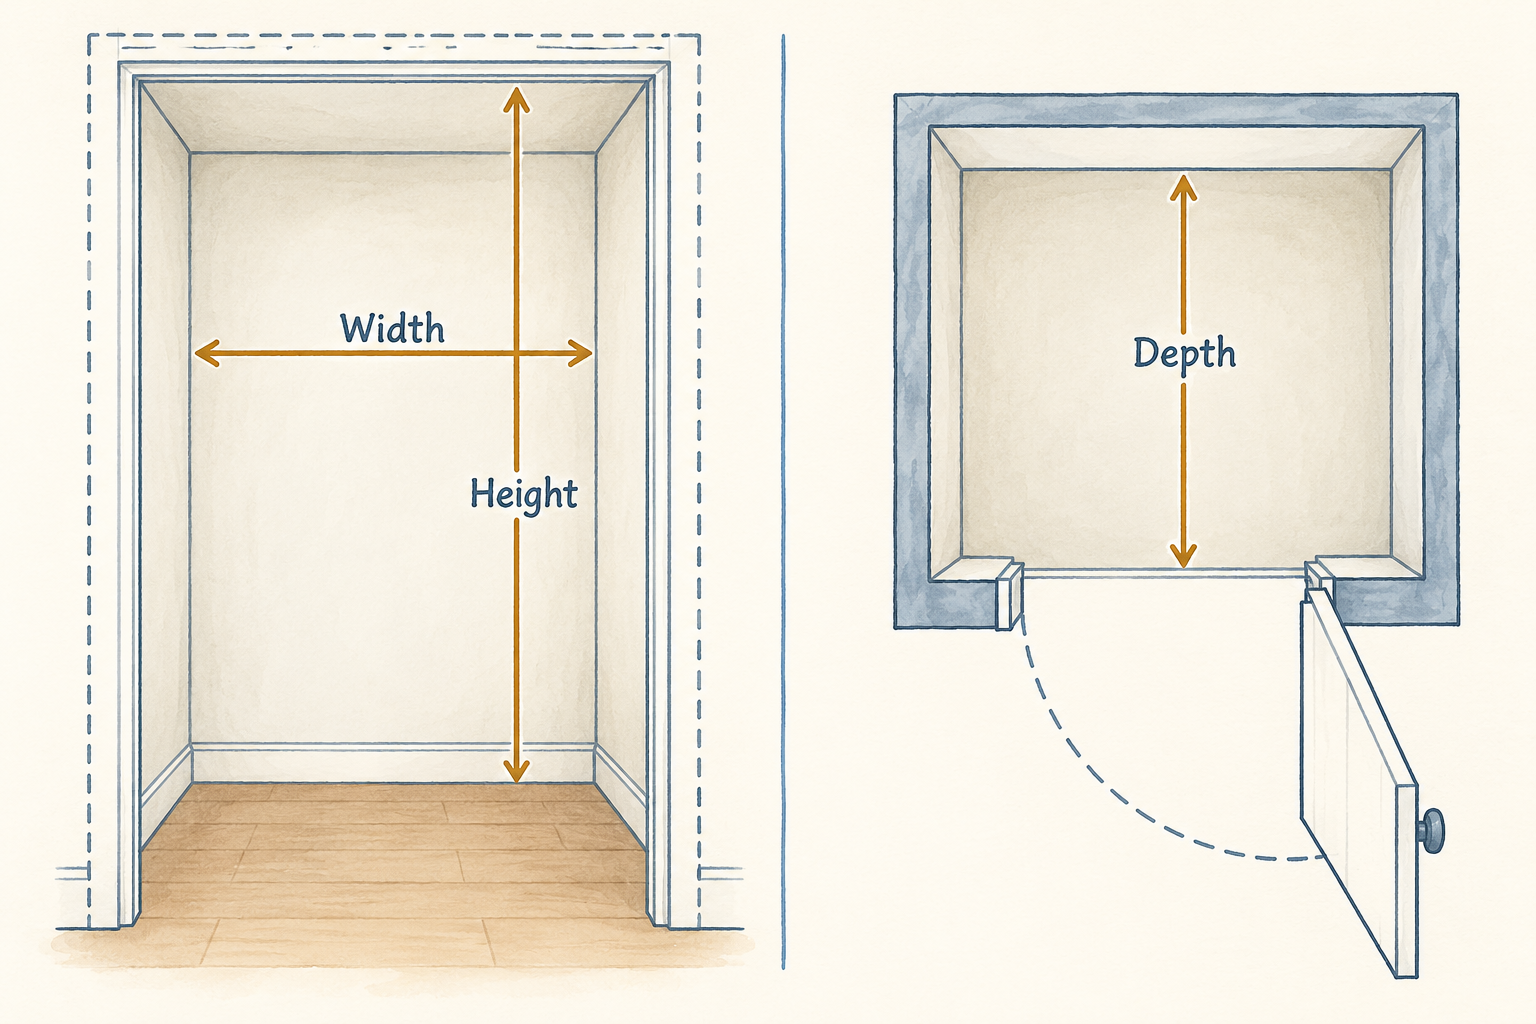
AI-generated measuring illustration. The door position is an example; draw your own door and obstructions.
-
Inventory the clothes and shoes that need a home
Make four short lists: short hanging clothes, long hanging clothes, folded items and shoes/accessories. Include only what you intend to store here. You can set aside uncertain items without making a permanent donation decision during this planning session.
Measure the rail space your hanging groups actually occupy without squeezing them tightly. Check the longest garment on its hanger, the size of a normal folded stack and your largest shoe pair. These are more useful for this plan than a universal closet dimension. Mark which groups you use every day.
-
Sketch zones around your existing fixtures
Draw a first option that uses the shelves and rod already in place. Put everyday items where you can reach them comfortably, reserve uninterrupted hanging space for long clothes, and keep folded groups together. Place heavier items low. A bin is a possible tool, not the starting point.
Use a consistent sketch scale if you can, such as one square for six inches. Label real dimensions even when the drawing is rough. Make a second option only if the first does not solve your main problem. New rails or shelves belong on a future-installation list, not in today’s no-drill trial.
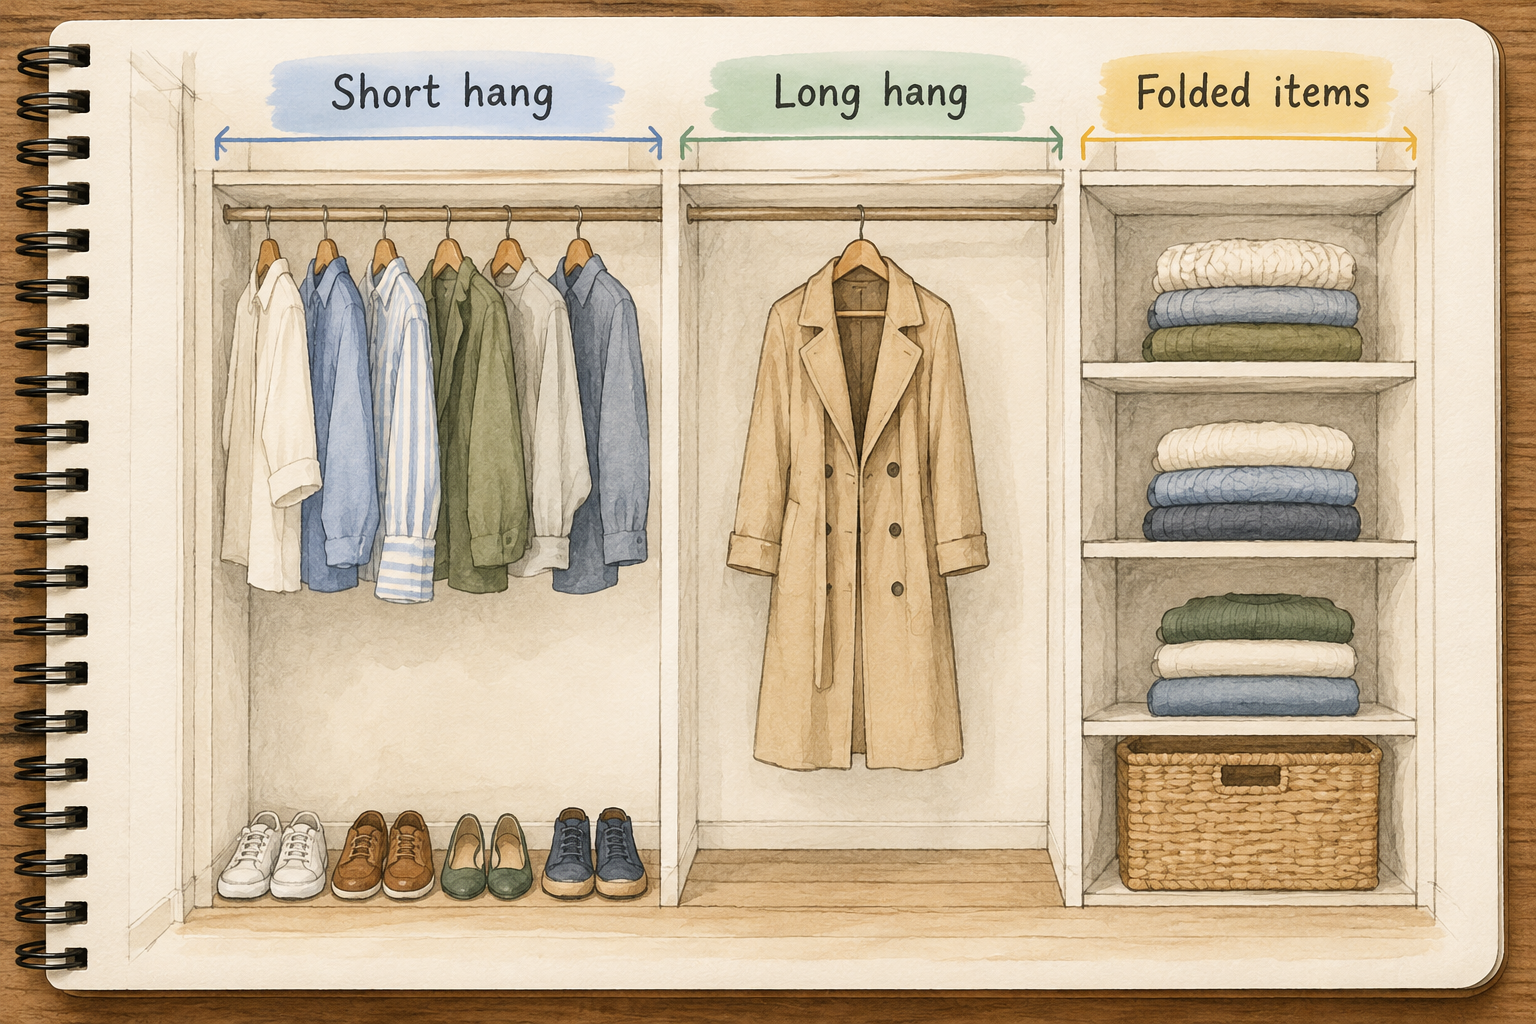
AI-generated zoning illustration, not a construction plan. Use the fixtures and clearances in your own closet.
-
Test access before choosing a container
Open the closet door fully. Check whether you can remove a hanger, reach the back of a shelf and lift a box out without moving another group. Measure a bin you already own and compare its outside dimensions with the proposed space, including any lid or handles. Do not assume the advertised capacity tells you whether it fits.
If you are considering drawers, account for their open position, not just their closed depth. Sliding doors may prevent a drawer at one end from opening. Leave practical room to grasp and remove things; a mathematically exact fit may still be awkward. Revise the paper plan rather than buying around a known obstruction.
-
Finish with a requirements list, then try the layout
Write down any genuine gap as a requirement: for example, “one shallow shoe tray that fits this measured floor area,” not “a complete closet system.” First rearrange only loose belongings on sound existing fixtures, staying within their stated load limits. Stop if shelving or rails are loose, damaged or sagging.
Try the arrangement for several normal mornings before shopping. If a future plan adds a wardrobe or storage furniture, follow its assembly and anchoring instructions. CPSC recommends securing furniture against tip-over and storing heavier items low; a paper layout is not a substitute for safe installation. This tutorial does not install or alter fixtures.
Troubleshooting
- Everything fits on paper, but feels cramped: add space for hands, hangers, doors and drawers in use, not just the objects at rest.
- The long coat hits the shoes: keep its floor area clear or move shoes to another measured zone.
- Folded piles keep falling: try smaller groups within existing shelf space before adding more storage.
- Measurements disagree: remeasure at the intended location and record the smallest usable clearance. Do not order a tight-fitting system from an uncertain sketch.
Frequently asked questions
Do I need a closet-planning app?
No. A labeled paper sketch is enough for this exercise. A manufacturer planner can help later, but its product dimensions and installation requirements still need checking.Can I do this without emptying the whole closet?
Yes. Work one section at a time and clear only the area needed for a safe measurement. Allow more time if the contents prevent you from seeing the walls or floor.Should I buy matching bins first?
No. Inventory and measure first, then check whether containers you already own solve the problem. No purchase is required for the plan.What should I do before storing knitwear?
Check its care label and make sure it is clean and fully dry. See our related guide to hand-washing a wool sweater and drying it flat when hand-washing is permitted.Research and trend notes
Checked October 25, 2026. Pinterest Trends US listed the broader query “closet design ideas” at +20% weekly, +40% monthly and +100% yearly in its Growing trends view for July 24–October 21, 2026. The observed historical search-interest line rose toward 100 at the latest endpoint; forecast values were excluded. This is Pinterest search-interest evidence for a broader design topic, not proof of demand for this exact tutorial, Amazon sales or a guarantee of future interest. Our editorial angle is a small, no-purchase planning task.
Sources: Pinterest Trends: closet design ideas, US historical chart; Pinterest Growing trends discovery view; ClosetMaid: measurements and contents to record before planning; ClosetMaid: measuring space and drawer clearance; IKEA: start with space and storage needs (general planning principles only, not regional product dimensions); CPSC Anchor It: furniture tip-over prevention.
This is a research-based planning guide, not a report of hands-on testing. Illustrations are AI-generated. No video is included because a closely matching, verified planning-only tutorial was not established.