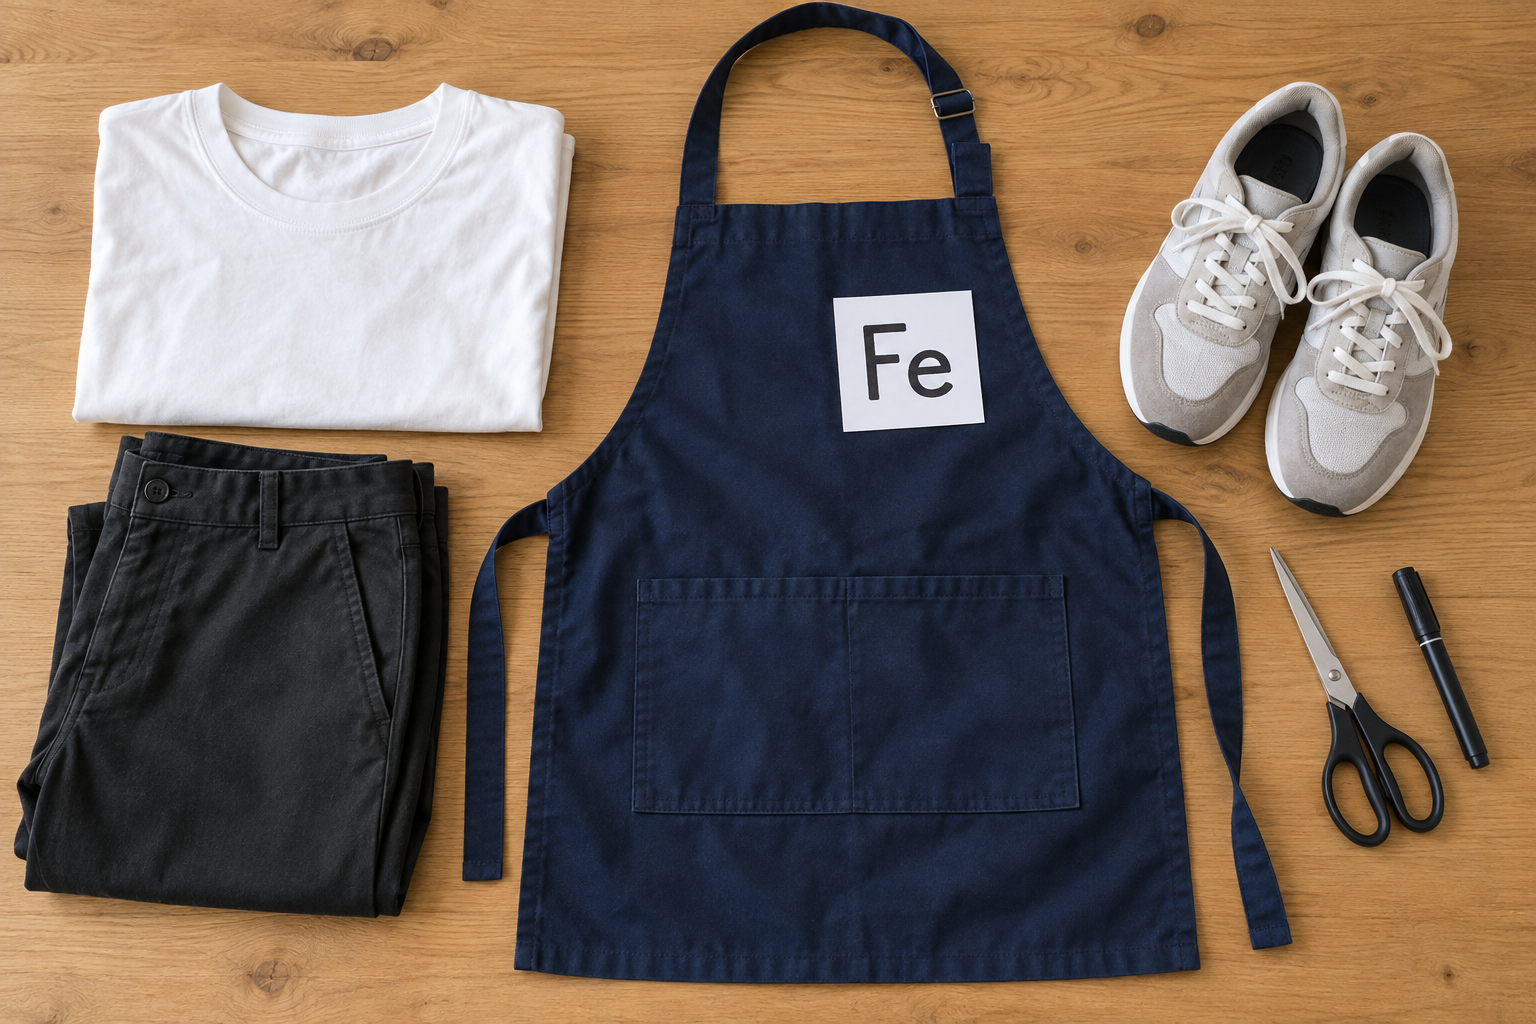
Need a Halloween costume tonight? Start with an outfit you already wear, then add one clear visual clue. This no-sew tutorial builds an “iron chef” costume from a shirt, trousers, an apron and a removable paper Fe badge. Fe is the chemical symbol for iron, so the joke works without carrying a heavy prop.
Estimated time: 25 minutes, including a fit check. This is a planning estimate, not a timed test. Cost can be zero if you already have the materials.
Hero image: AI-generated illustration of the suggested outfit and materials; it is not a photograph of a tested finished costume.
Choose the outfit before the accessories
Pull out comfortable clothes and shoes that suit the weather. An apron makes the worked example easy to recognize. If you do not own one, use a button-down shirt and a removable “Tour Guide” paper badge instead, or a striped shirt and an artist-style cap you already own. Avoid buying several accessories just to make an idea work.
Common pitfalls
- Do not write directly on clothing or apply glue. Test any removable fabric-safe tape on a hidden area first; it can still mark delicate fabric.
- Keep hems and apron ties clear of your feet. Skip masks that restrict vision, loose trailing fabric and heavy or sharp props.
- Keep paper and fabric well away from candles, heaters and other flames. Ordinary clothes are not flameproof. Use battery-operated decorations.
- For outdoor evening wear, add reflective material and carry a flashlight. Wear well-fitting, sturdy shoes.
FAQ
Do I need a chef hat? No. The apron and Fe badge carry the idea; use a hat only if you already have one and it does not block your view.
What if the tape will not hold? Do not switch to permanent glue. Make a smaller, lighter badge or tuck a longer paper badge into an apron chest pocket with the lettering visible. If neither works, choose a costume that needs no attachment.
Can children use this idea? An adult should handle cutting and check fit, visibility and attachments. Avoid small loose decorations; adapt the outfit to the child and activity.
Why this topic now
In a Google Trends US Web Search snapshot for the past seven days, checked on October 17, 2026, “last minute halloween costumes” appeared as a rising related query under “halloween makeup,” at +250%. This is a related-query signal for that snapshot, not a claim that this tutorial or its exact title is trending nationally.
Sources and inspiration
- Goodwill: Easy Halloween Costumes for Procrastinators — closet-first inspiration and the Fe “iron chef” idea. The removable paper-badge method and steps here are an editorial adaptation.
- U.S. Consumer Product Safety Commission: Halloween Safety — costume fit, visibility, footwear and fire precautions.
- Google Trends comparison — live link; results change over time.
More Halloween ideas
For a coordinated Halloween evening, try our no-carve pumpkin painting tutorial for indoor decorations, or follow the beginner pumpkin-carving guide for an adult-led project with battery lighting.
What you need
- Comfortable shirt, trousers and well-fitting shoes you already own
- An apron that fits without trailing hems or ties
- Plain paper or light card for an approximately 8 cm square badge
- Black marker, ruler and scissors (adult help for children)
- Removable tape labeled suitable for your apron fabric; hidden-area test required
Steps
-
Lay out your base outfit
Choose a shirt and trousers you can move in, then add your usual comfortable shoes. Put the apron on top. Check that its hem stays clear of your feet and tuck away loose ties. Set aside a weather-appropriate layer if you will be outside.
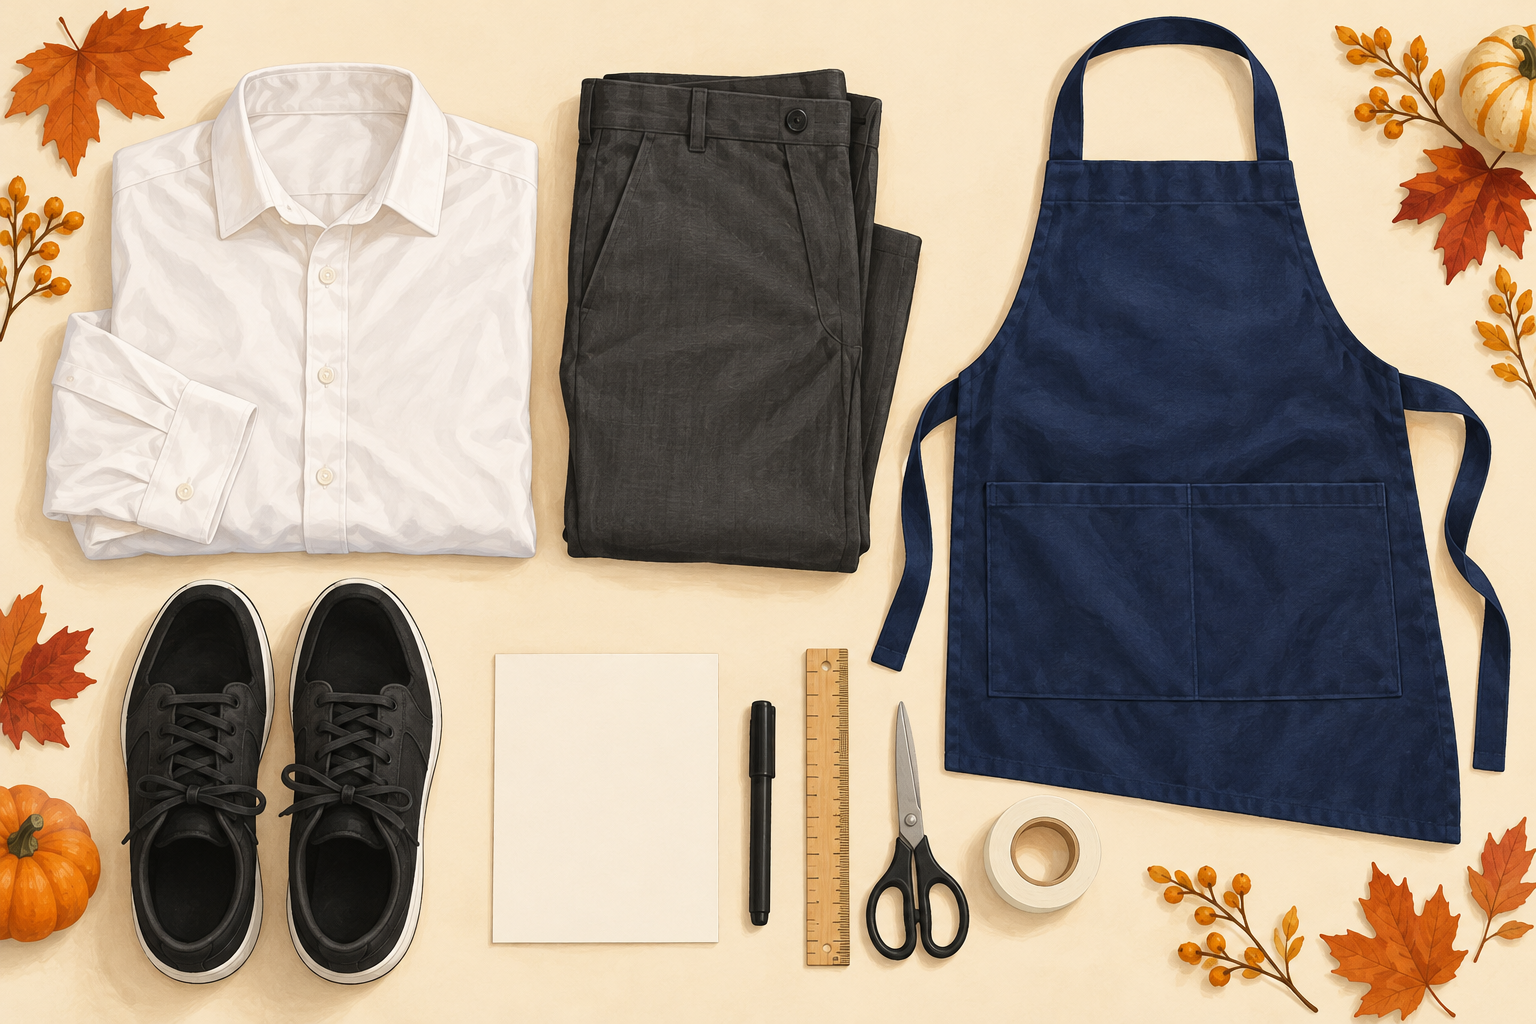
AI-generated illustration: gather a comfortable base outfit and simple badge supplies before you begin.
-
Make the Fe badge
On a protected table, measure an approximately 8 cm square of paper or light card. Cut it out, rounding the corners. Write a large capital F followed by a lowercase e: Fe. Leave a clear border so the symbol is readable. Let the marker dry before handling or placing it near fabric.
-
Test the removable attachment
Read the tape label and confirm it is suitable for the apron fabric. Test a small piece on a hidden area, following its directions, then remove it gently and check for residue or pulled fibres. Skip tape on delicate, valuable or unsuitable fabrics. If the test fails, use a longer paper badge tucked into an existing chest pocket, or choose an attachment-free idea.
-
Attach the badge and try on the costume
With the apron laid flat, use small pieces of the tested tape to secure the dry badge high on the front, away from folds and pockets you need. Follow the tape directions. Put the apron on and check the lettering in a mirror. Keep your hands free: no iron, kitchen knives or other heavy or sharp props are needed.
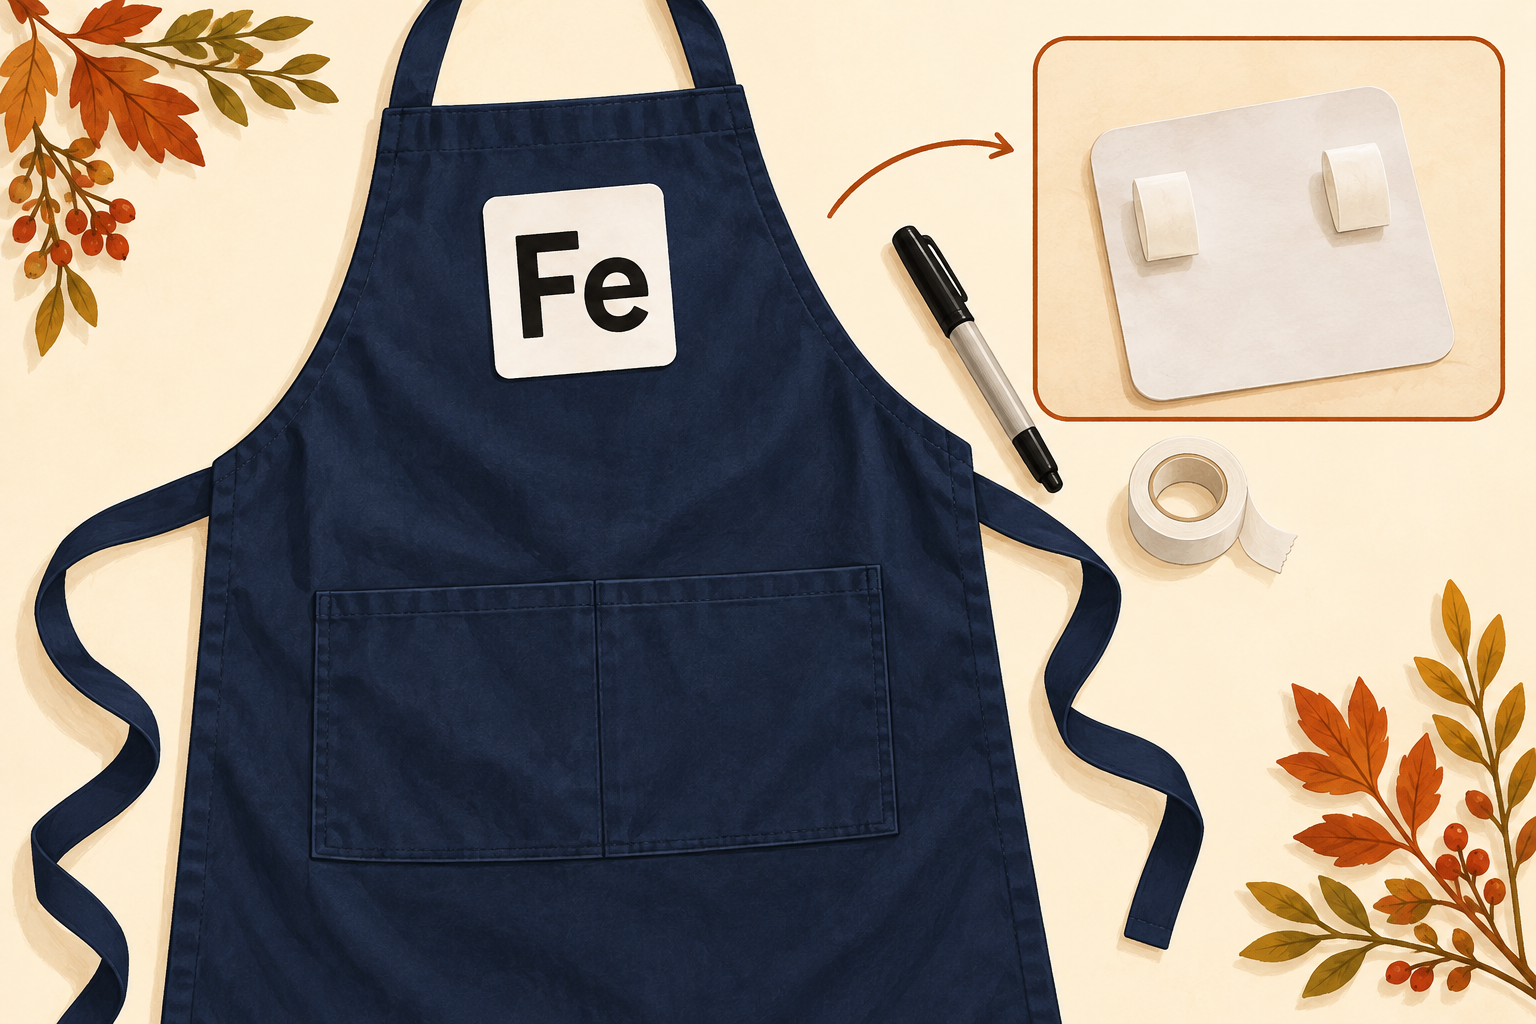
AI-generated illustration: place the dry Fe badge high on the apron. Use removable tape only after the fabric compatibility test, and follow its directions.
-
Do a movement and visibility check
Walk, sit down, bend and raise your arms. Make sure nothing drags, catches or falls off and that you can see clearly in every direction. Adjust the apron before leaving. For outdoor evening activities, add reflective material and a flashlight, and keep your weather layer on. Stay clear of flames and heaters. After the event, remove the badge and tape gently according to the tape directions before washing the apron.