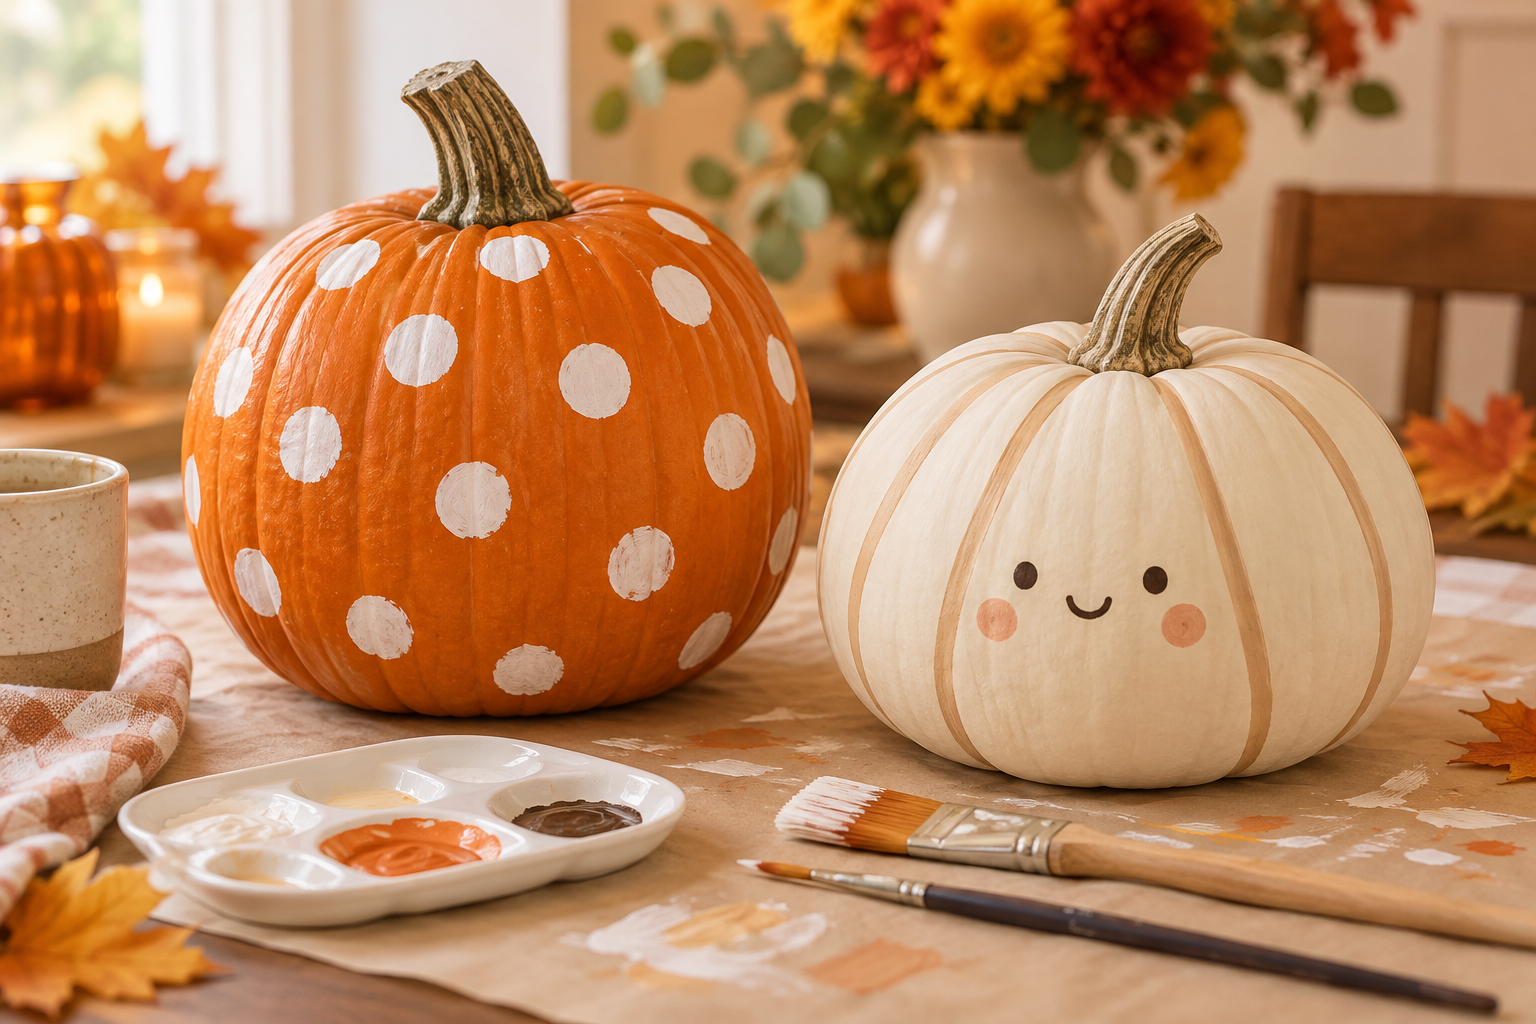
To paint a pumpkin without carving, clean and dry the outside, test a small patch of craft paint, then build your design in thin coats, letting each coat dry before adding the next. Start with dots or stripes, or try the optional cream-and-tan dumpling-inspired design below. Leave the pumpkin intact throughout.
Time: About 40 minutes of hands-on work for a small or medium pumpkin, plus cleaning and paint-drying time. Drying varies with the paint, coat thickness and room conditions; follow the label rather than a fixed timer. This is an editorial estimate, not a timed test.
Hero image: AI-generated illustration of decorative painted pumpkins and craft supplies. It is design inspiration, not a photograph of a tested project.
Before you start
Choose a firm pumpkin that sits steadily, with no soft or damaged patches. A craft pumpkin also works if its surface is compatible with the paint. Use age-appropriate materials, protect clothes and the table, and supervise young children. Keep paint and rinse water separate from food and drinks. This project needs no cutting, sanding or spray products.
Use brush-on craft acrylic suitable for your surface. For younger children, an age-appropriate washable project paint can be an easier choice for an indoor display. Crayola recommends testing paint first and keeping decorated pumpkins indoors because moisture can affect water-based products. Treat the finished pumpkin as decoration only; do not eat it.
Common mistakes and fixes
- Paint beads up: stop, let the test patch dry and check the surface and paint instructions. Remove dirt and residue before trying again; do not cover the whole pumpkin until the test works.
- Orange shows through: add another thin coat after the first dries instead of one heavy layer.
- Streaks or lifted paint: avoid brushing repeatedly over paint that has begun to set. Let it dry before touching up.
- Smudged details: wait until the background is dry, then use a lightly loaded fine brush.
Frequently asked questions
Do I need primer or sealer? Neither is included in this simple indoor project. Check your paint and craft-pumpkin labels for any surface preparation they require. A coating does not make a real pumpkin permanent.
Can I display it outside? This tutorial is intended for indoor display. Do not assume craft paint is weatherproof. Rain and damp conditions can spoil the finish.
How long will it last? There is no fixed lifespan for a real pumpkin. Check it regularly and remove it if it becomes soft, leaky or moldy. Choose a reusable craft pumpkin if you want to keep the decoration.
Sources and trend context
Paint selection, moisture precautions and decorative-only use: Crayola pumpkin-decorating guidance. Thin-coat and brush-handling guidance: Plaid guidance on avoiding brush marks and streaks.
Topic selection was informed by a Google Trends comparison checked October 17, 2026, around 18:00 UTC: United States, past seven days, all categories, Web Search. “Dumpling pumpkin painting” appeared as a rising related query under “pumpkin painting,” at +200%. That figure describes the related query's growth, not total pumpkin-painting searches or search volume. Trends changes over time. The dumpling-inspired design here is an original editorial variation.
More Halloween ideas
If you would rather make a jack-o-lantern, see our beginner pumpkin-carving tutorial, with adult-only cutting and battery lighting. Complete the evening with a last-minute costume made from clothes you own.
For a separate indoor candy station alongside your decorations, read our Bico Spider Web candy bowl specs-based review. Keep painted pumpkins and craft supplies separate from food.
What you need
- One small or medium intact pumpkin, or a paint-compatible craft pumpkin
- Brush-on craft acrylic paint suitable for the surface; optional age-appropriate washable project paint for indoor use
- Flat paintbrush and small fine-tip paintbrush
- Palette or disposable plate used only for crafts
- Water cup for rinsing brushes, soft cloth and paper towels
- Table covering and apron or old clothes
- Optional dumpling palette: cream, pale tan, dark brown and a little pink
Steps
-
Choose and clean the pumpkin
Set your pumpkin on a level surface and check that it stays upright. Wipe away dirt with a soft damp cloth; if needed, use a little mild soap and wipe away the residue. Let the entire outside dry thoroughly, especially in the grooves. Carry it from underneath rather than pulling on the stem.
-
Prepare the workspace and test the paint
Cover the table and set out a small amount of paint, your brushes and a clearly separate rinse cup. Apply a thin test patch on an inconspicuous area. Let it dry according to the paint instructions. Continue only if it covers evenly and stays in place with gentle handling. For a glossy craft pumpkin, follow its manufacturer's preparation guidance.
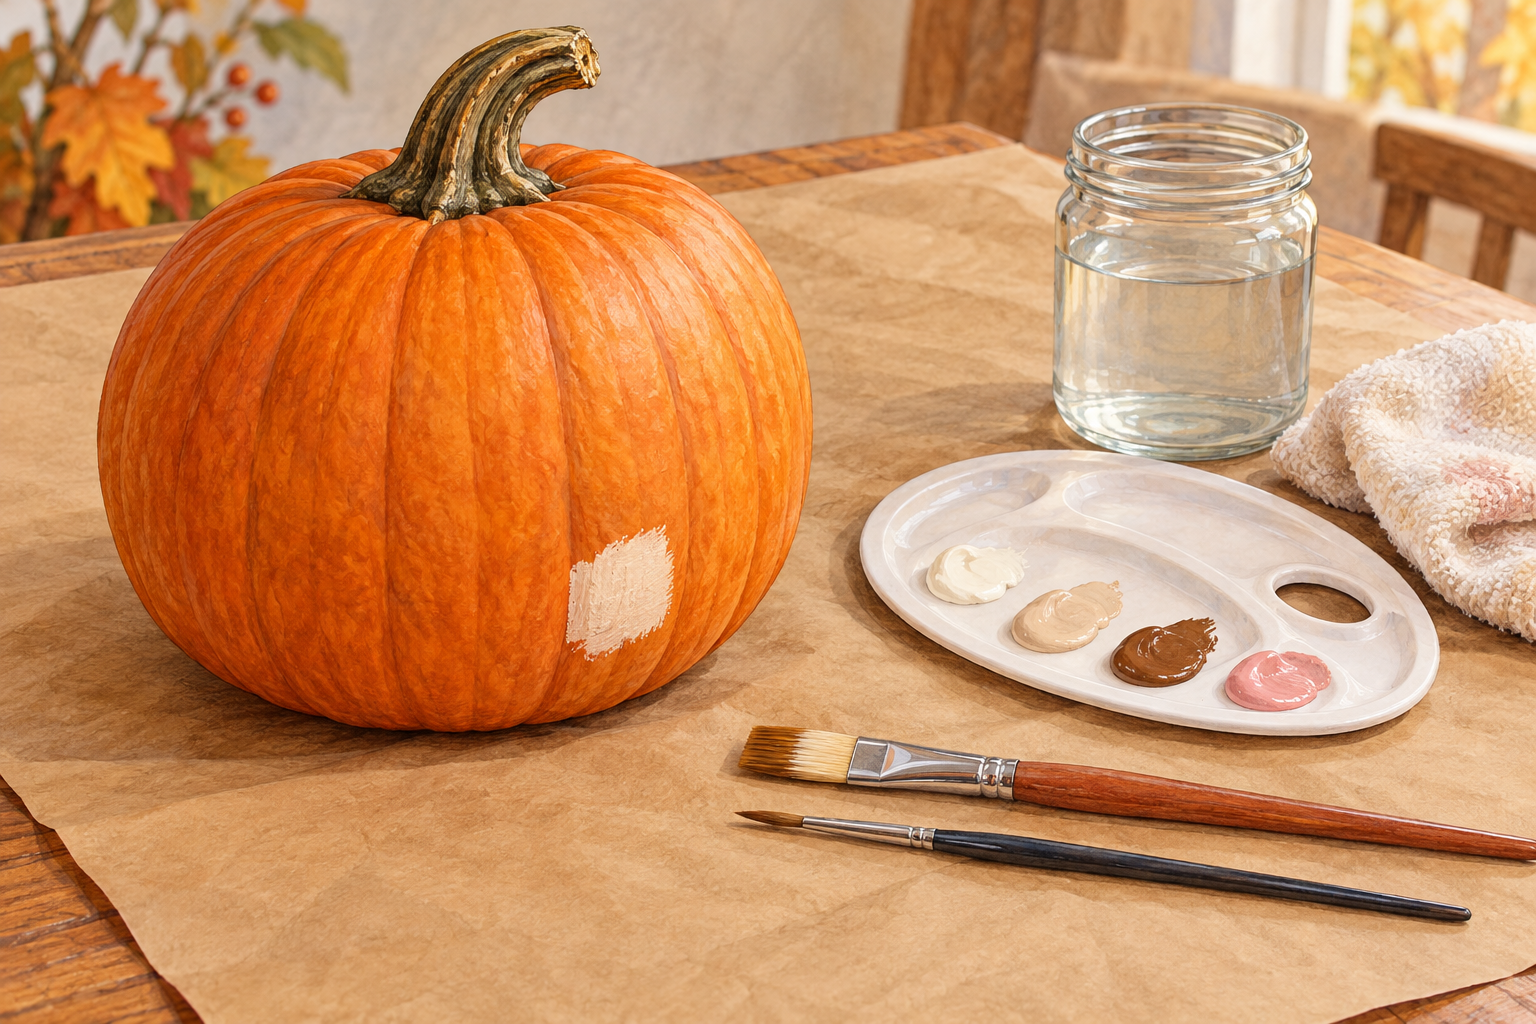
AI-generated illustration: prepare a covered workspace and test a small patch before painting. -
Plan a simple design
Pick two or three colors and sketch your idea on paper first. For an easy design, leave the orange skin showing and add dots or broad stripes. For the dumpling-inspired variation, choose cream as the background and pale tan for curved lines along the natural ribs. Keep the stem visible so the object remains clearly a pumpkin decoration.
-
Paint the background, if using one
Use the flat brush to spread a thin, even layer over the visible sides. Work along the pumpkin's ribs without flooding the grooves. Leave the stem and the surface resting on the table unpainted. Stop brushing once the paint starts to set. Let the coat dry, then add another thin coat if needed for coverage. Skip this step if you want the natural orange background.
-
Add dots, stripes or the optional dumpling details
Wait until the background is dry. Make dots with a small brush, or follow the ribs for broad stripes. For the optional dumpling look, use a fine brush and pale tan paint to draw a few curved lines from below the stem down the ribs. Add two small dark-brown eyes and a short curved smile on the front, with optional pink cheeks. This is a playful painted interpretation; no shaping or cutting is needed.
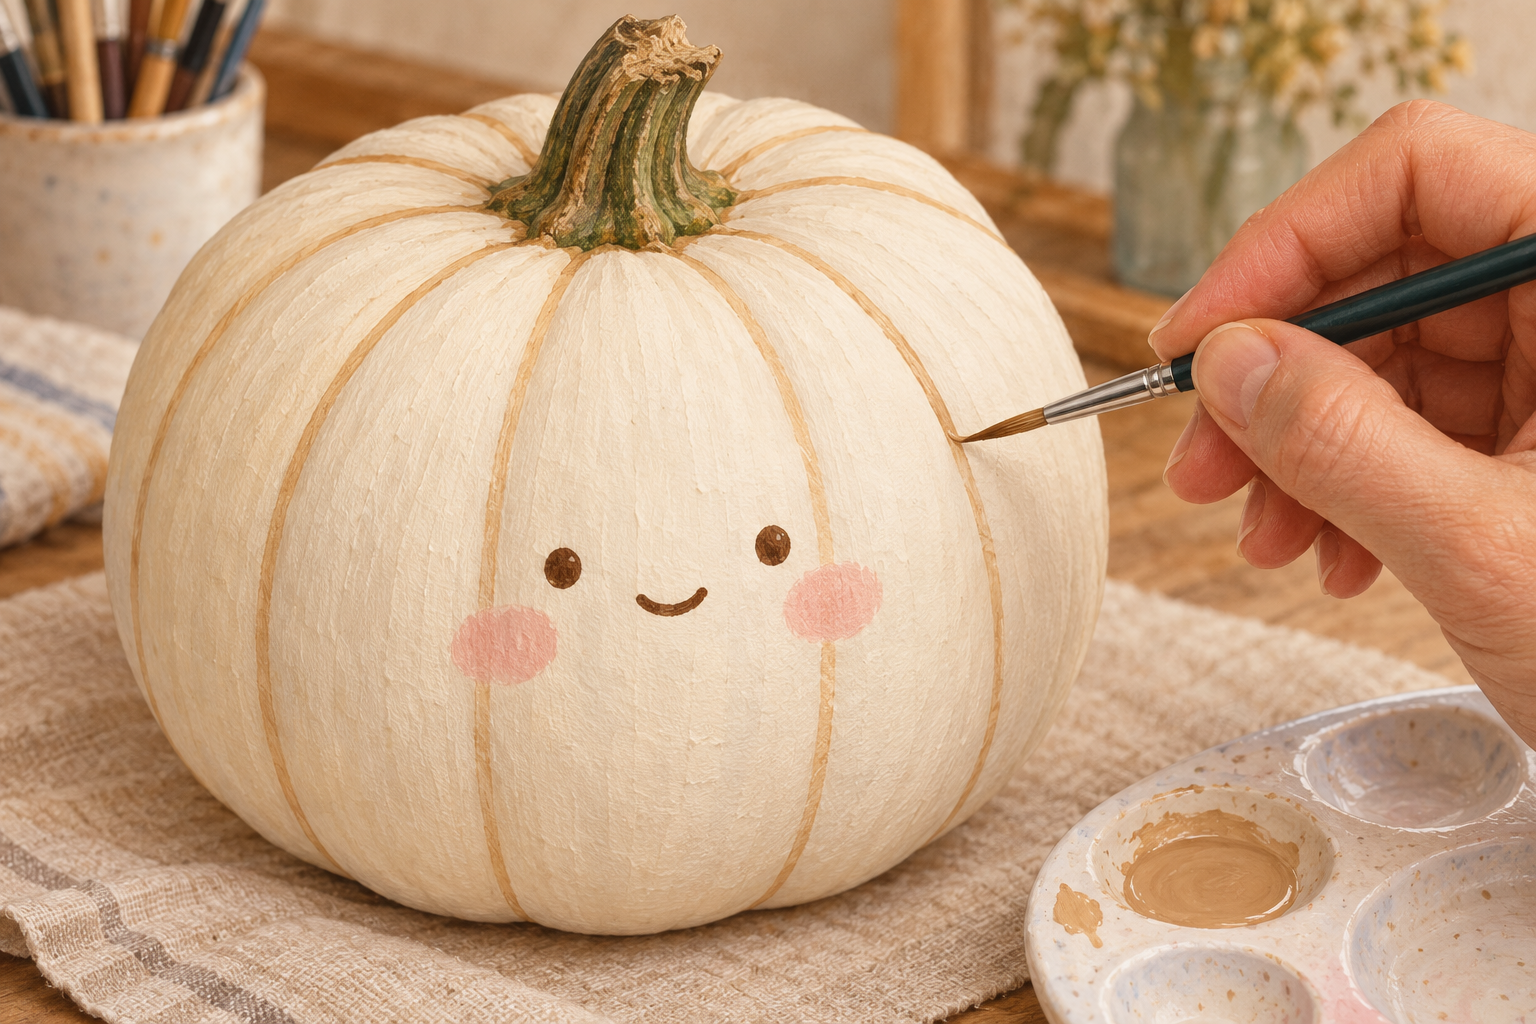
AI-generated illustration: add pale tan rib lines and a simple face once the cream background is dry. -
Let the details dry and make small corrections
Leave the pumpkin untouched while the details dry. Check from a short distance before adding more. If a mark needs correcting, let it dry first, then cover just that spot with the background color, dry again and repaint the detail. Rinse brushes before paint dries in the bristles, following the product's cleanup directions.
-
Display indoors and check its condition
Once the paint is fully dry according to its label, place the pumpkin on a protective tray or mat in a dry indoor spot. Keep it away from food preparation, pets and small children who may mistake the design for something edible. Keep it away from flames and heat. Check a real pumpkin regularly and remove it when it begins to soften, leak or develop mold. Store a reusable craft pumpkin only when its finish is completely dry.